
Elora’s Personal Presets – Guild Wars 2 ReShade (v6.6.1)
![]()

Welcome! This guide will walk you through installing and using my custom ReShade preset for Guild Wars 2, updated for ReShade 6.6.1. It includes a full list of required effect packages, add-ons, recommended in-game graphics settings, and tips for best results.
Changelog: See CHANGELOG.md for recent updates and version history.
Table of Contents
- About This Preset
- Requirements
- Required Effect Packages/Add-ons
- Installation Instructions
- In-Game Graphics Settings (Recommended)
- FOV & Camera Tips
- Hardware Recommendations & Performance
- Troubleshooting & FAQ
- License
- Third‑Party Licenses and Attributions
- Contact and Links
- Preset Previews
About This Preset
Preset Version: 5.0.0 (see CHANGELOG.md)
This preset was designed to deliver a cinematic, next-generation visual experience in Guild Wars 2. Whether you’re a content creator or an everyday player, it enables you to capture eye-catching screenshots, breathtaking videos, and enjoy a more immersive gameplay experience—elevating the standard of in-game visuals for everyone.
This collection now includes two main preset types:
-
Photo Mode Presets: Formerly known as “Standard - First Person Photos” and “Standard - Third Person Photos,” now renamed to Photo Mode - First Person and Photo Mode - Third Person. These are designed for high-quality screenshots, with a focus on maximum visual fidelity. The main difference between them is the far blur curve setting in the
qUINT_dof.fxeffect package which modifies how wide the plane of focus is.
-
Photo Mode - Ultra
Photo Mode - Ultra is a next-generation preset designed for screenshot artistry and cinematic visuals. It features a dreamy, painterly look with soft lighting, god rays, volumetric fog, and advanced bloom and anti-aliasing effects. Ultra is intended for users who want the most visually striking and atmospheric screenshots possible. It is more demanding than the other presets found in this collection and is not recommended for regular gameplay, but is perfect for capturing breathtaking moments and fantasy scenes in Guild Wars 2.

-
Photo Mode - Cinematic
Photo Mode - Cinematic is a sophisticated preset designed specifically for high-quality cinematic screenshots and videos, offering enhanced visual fidelity and artistic control for content creators. It features advanced depth of field with autofocus, film-grade color grading, multiple bloom layers, volumetric atmosphere, and professional anti-aliasing. Cinematic is intended for users who want professional-grade cinematic visuals and storytelling capabilities. It is more demanding than the other presets found in this collection and is not recommended for regular gameplay, but is perfect for capturing dramatic scenes, character portraits, and cinematic storytelling moments in Guild Wars 2.

-
Always On Presets: Now available in High, Medium, and Low performance tiers, each with DOF (Depth of Field) and No DOF variants. These are designed for everyday gameplay, offering a range of performance and visual fidelity options for all types of hardware:
- Always On - High - DOF (Depth of Field enabled)
- Always On - High - No DOF (Depth of Field disabled)
- Always On - Medium - DOF (Depth of Field enabled)
- Always On - Medium - No DOF (Depth of Field disabled)
- Always On - Low - DOF (Depth of Field enabled)
- Always On - Low - No DOF (Depth of Field disabled)
Always On - High presets offer roughly double the FPS of Photo Mode, making it ideal for regular play with high visual quality. Medium and Low tiers provide even higher performance—Medium gives about 10–20 more FPS than High, and Low gives about 20–40 more. These options make the presets accessible for a wide range of hardware and playstyles. As you move from High to Low, more effects are disabled to boost FPS, so visual quality decreases slightly, but the core look and feel remain.

Requirements
- Guild Wars 2 (latest version)
- ReShade 6.6.1 (Download here)
- Windows 10/11
Required Effect Packages/Add-ons
Below is the complete list of shaders and add-ons required by the presets. These can be installed during the standard ReShade setup wizard. Ensure the .fx files are in your reshade-shaders\Shaders folder and the .addon file is in your main Guild Wars 2 Game Folder which is C:\Program Files\Guild Wars 2 (default for standalone launcher players) or C:\Program Files (x86)\Steam\steamapps\common\Guild Wars 2 (default for Steam players).
Effect Packages/Shaders (.fx files)
- qUINT by Marty McFly (GitHub)
MartysMods_MXAO.fx,qUINT_dof.fx(available via the ReShade installer; not bundled here)
- prod80 Shaders (GitHub)
PD80_02_Bloom.fx,PD80_03_Filmic_Adaptation.fx,PD80_04_Color_Temperature.fx
- Zenteon Shaders (GitHub)
Zenteon_LocalContrast.fx,Zenteon_Sharpen.fx,Zenteon_XenonBloom.fx(available via the ReShade installer; not bundled here)
- Nice Guy Shaders (GitHub)
NGLighting.fx,VolumetricFog.fx
- ReShade Repository (GitHub)
AmbientLight.fx,BloomingHDR.fx,Border.fx,CAS.fx,cDLAA.fx,DFTAA.fx,DTAA.fx,FGFXLargeScalePerceptualObscuranceIrradiance.fx,GaussianBlur.fx,GBloom.fx,GloomAO.fx,HexLensFlare.fx,lilium__rcas_hdr.fx,LocalContrast.fx,MagicBloom.fx,NeoSSAO.fx,pCamera.fx,PPFX_SSDO.fx,ReflectiveBumpMapping.fx,Reinhard.fx,Shading.fx,SmartDeNoise.fx,Vibrance.fx,Vignette.fx
- SHADERDECK by TreyM (GitHub)
FILMDECK.fx(available via the ReShade installer; not bundled here)
Add-ons (.addon files)
- ReshadeEffectShaderToggler (REST) by 4lex4nder (Github) (available via the ReShade installer; not bundled here)
ReshadeEffectShaderToggler.addon
Note:
- The list above is derived directly from the preset’s Techniques line. Some techniques may reference the same .fx file with different technique names.
- If you are missing any of these, you can download them from the official ReShade repositories or the shader authors’ GitHubs. Some may be in optional or third-party packs.
- When installing ReShade, you can select these effect packages during the setup process, personally, I install all available effect packages to give myself room to experiment.
- Additional information on each effect package along with tips for tweaking them yourself (should you choose to do so) can be found in EFFECTS.md.
Installation Instructions
Please follow the steps below carefully in order to install ReShade, the ReShade Effect Shader Toggler addon, the required effect packages, as well as all of my current presets. Alternatively, if you would prefer to watch a video guide, a video guide is also available here.
- Download Presets
- Navigate to my Latest Release Page.
- From the Release Page, click
Source code (zip)to download my entire repository as a.zip filecontaining everything, which you will then have toextract (unzip)by clicking on the.zipfile in yourFile Explorer, clicking on theExtract Allbutton, and then clicking on theExtractbutton. - Copy all files beginning with
Elora's Personal Presets, theReshadeEffectShaderToggler.ini, along with the entirereshade-shadersfolder into your Guild Wars 2 game folderC:\Program Files\Guild Wars 2(default for standalone launcher players) orC:\Program Files (x86)\Steam\steamapps\common\Guild Wars 2(default for Steam players).
- Download and Install ReShade 6.6.1
- Download the latest version of the ReShade installer (ReShade 6.6.1 with full add-on support) and run it. (Download here)
- Select your
Gw2-64.exe(Guild Wars 2 executable), it may not appear on the default list of applications, and if so, clickBrowse...and navigate to the Guild Wars 2 folder and select itC:\Program Files\Guild Wars 2(default for standalone launcher players) orC:\Program Files (x86)\Steam\steamapps\common\Guild Wars 2(default for Steam players) and then clickNext. - Choose
Microsoft DirectX 10/11/12and then clickNext. - Choose
Install ReShade and effectsand then clickNext. - Click
Browse..., navigate to and selectElora's Personal Presets - Photo Mode - Cinematic.ini(since this uses the most effect packages, it will install all the effect packages used in all my presets) and then clickOpen. - It will automatically select all of the effect packages used by my presets for installation, if this is sufficient for you, then you can click
Nextand it will begin downloading the required effect packages. If you would like to give yourself more options for experimenting, you can instead clickUncheck Alland then clickCheck All, this will install every available effect package in the ReShade repository which will give you a lot of room for experimenting with new effect packages. - On the
Select add-ons to install:screen, selectReshadeEffectShaderToggler (REST) by 4lex4nderand clickNext - Click
Finish.
- Rename dxgi.dll to d3d11.dll
- In
C:\Program Files\Guild Wars 2(default for standalone launcher players) orC:\Program Files (x86)\Steam\steamapps\common\Guild Wars 2(default for Steam players) rename thedxgi.dlltod3d11.dll, this change is required since the update to DX11 in order for ReShade to recognize Guild Wars 2 and initialize during launch.
- In
- Launch Guild Wars 2
- Launch Guild Wars 2.
- Press the
Homebutton on your keyboard to open theReShade Menu(this keybind can be modified in theReShade Settings Menu). - Select the desired preset from the
dropdown menu at the topto activate it.
- Set a Toggle Key (optional)
- Navigate to the
Settingstab in theRehsade Menu. - Bind a key for
Effect Toggle Key. - Use your new keybind to turn the current preset on and off whenever it suits you.
- Navigate to the
- Tweak Settings (optional)
- If you like how I have things set up then you can skip this, but if you’d like to simply use my preset as a foundation for more changes you’re more than welcome to do that. At the end of the day, this is your game, you should enjoy the way that it looks, and it should suit your preferences. Modify sliders and toggle effects until everything is just right for you. If you need to revert back, you can always just download this preset again. Alternatively, you can create a new preset based on mine using the
Add A New Preset(Plus Icon) button in the top right hand corner of theReshade Menuand put a checkmark in theInherit Current Presetcheckbox - this way the original preset remains untouched and you get a brand new copy to modify to your heart’s content!
- If you like how I have things set up then you can skip this, but if you’d like to simply use my preset as a foundation for more changes you’re more than welcome to do that. At the end of the day, this is your game, you should enjoy the way that it looks, and it should suit your preferences. Modify sliders and toggle effects until everything is just right for you. If you need to revert back, you can always just download this preset again. Alternatively, you can create a new preset based on mine using the
Note:
- Additional information on each effect package along with tips for tweaking them yourself (should you choose to do so) can be found in EFFECTS.md.
In-Game Graphics Settings (Recommended)
If you’d like to recreate the same look and feel present in my Screenshots of the Beautiful World of Tyria posts, these are the current settings in my Client:
Display
- Resolution: Windowed Fullscreen
- Frame Limiter: Unlimited
- Interface Size: Normal
- DPI Scaling: Off
- Full-Screen Gamma: 1.00
Advanced Settings
- Animation: High
- Antialiasing: SMAA High
- Environment: High
- LOD Distance: Ultra
- Reflections: All
- Textures: High
- Render Sampling: Supersample
- Shadows: Ultra
- Shaders: High
- Character Model Limit: Highest
- Character Model Quality: Highest
- Best Texture Filtering: On
- Effect LOD: Off
- High-Res Character Textures: On
- Vertical Sync: Off
Postprocessing
- Postprocessing Preset: Custom
- Bloom: Off
- Color Grading: Off
- Color Tint: Off
- Distortion: Off
- Light Rays: Off
- Selection Outline: Off
- Ambient Occlusion: On
- Depth Blur: Off
- Light Adaptation: Off
- Motion Blur Power: Medium
- Environment Zone Intensity: Maximum
Note: If attempting to recreate the look of my preset previews and Screenshots of the Beautiful World of Tyria posts, match these settings as closely as possible. Deviations may result in visual artifacts or reduced visual fidelity.
FOV & Camera Tips
- Field of View (FOV): When taking screenshots of people I personally switch my FOV all the way to the left (zoomed in), and when taking screenshots of landscapes I’ll adjust the FOV slider until it suits my desired composition. Feel free to play around with this and find what works best for you.
- Camera Position: Experiment with camera angles and zoom for the best composition.
- First-Person Camera: Enable First-Person Camera in
Options>General Options>Camera>Enable First Person Camerato allow yourself to zoom in and view the game in first person. For screenshots of subjects/people other than your own character, I recommend using first person camera for the most cinematic effect and greatest level of control. - Adjust First Person Camera Height: You can toggle the camera position in First-Person mode to make it align with your character’s head in
Options>General Options>Camera>Adjust Camera to Character Height. - Set a Toggle For Show/Hide UI: If you plan on taking a lot of screenshots, I would recommend setting a keybind that is easy to use or remember in
Options>Control Options>User Interface>Show/Hide UIso that way you can quickly toggle the UI on or off - Adjust Camera Sliders: Depending on the kind of screenshots or videos you plan on taking, you may want to adjust additional options in
Options>General Options>Camerasuch as:Rotation Speed(for smoother panning),Horizontal Position(for compositions that aim for the Rule of Thirds or the Fibonacci Ratio),Vertical Position NearandVertical Position Far(again, for compositions that aim for the Rule of Thirds or the Fibonacci Ratio),Zoom Sensitivity(to adjust the increments your camera zooms in, for smoother zooming during videos or greater control of zoom in general for photos) - Adjust Height With Tonics: A quick way to adjust your height to get a different perspective is to use the
Endless Miniature TonicorEndless Embiggening Tonic, experiment with them to try to get that perfect shot!
Hardware Recommendations & Performance
Photo Mode Presets Performance & Recommendations:
- Tested with:
- CPU: Intel Core i7-13700HX or AMD Ryzen 7 7735HS
- GPU: NVIDIA GeForce RTX 4050 (6GB VRAM) or AMD Radeon RX 7600M
- RAM: 16 GB DDR5
- Storage: SSD
- OS: Windows 10/11 64-bit
- Photo Mode:
- Optimized for: Modern mid/high-end systems
- Performance Target: 1080p @ 40+ FPS with all effects enabled
- Photo Mode - Ultra:
- Optimized for: Modern mid/high-end systems
- Performance Target: 1080p @ 30+ FPS with all effects enabled
Note:
- Photo Mode presets are not intended for regular gameplay, they’re meant for taking high quality photos. Please use one of the Always On presets if you intend to use any during gameplay.
Always On Presets Performance & Recommendations:
- Tested with:
- CPU: Intel Core i7-13700HX or AMD Ryzen 7 7735HS
- GPU: NVIDIA GeForce RTX 4050 (6GB VRAM) or AMD Radeon RX 7600M
- RAM: 16 GB DDR5
- Storage: SSD
- OS: Windows 10/11 64-bit
- Always On - High:
- Optimized for: Modern mid/high-end systems
- Performance Target: 1080p @ 60+ FPS with all effects enabled
- Always On - Medium:
- Optimized for: Mid-range systems
- Performance Target: 1080p @ 70–80+ FPS (approx. 10–20 more FPS than High)
- Always On - Low:
- Optimized for: Lower-end or older systems, or users wanting maximum FPS/minimal effects
- Performance Target: 1080p @ 90–100+ FPS (approx. 20–40 more FPS than High)
All Always On presets deliver high visual quality with a focus on smooth gameplay. Choose the tier that best matches your hardware and FPS goals.
Troubleshooting & FAQ
Q: The preset looks wrong, or some effects are missing!
- Double-check that all required .fx files are present (see above for links).
- Make sure your in-game graphics settings match the recommendations.
- Try reloading the preset in the ReShade menu.
- If depth-based effects (like MXAO or DOF) don’t work, try switching between windowed and fullscreen, or check the “Copy depth buffer before clear operations” option in ReShade’s settings.
- If you see a black screen or crash, ensure your GPU drivers are up to date and that you are using ReShade 6.6.1.
Q: My game is running slowly!
- Some effects (like MXAO, SSDO, and high-quality DOF) are demanding. Disable or lower their quality in the ReShade menu if needed.
- For gameplay, toggle off the most demanding effects or use the Always On preset tier (High, Medium, or Low) that achieves the framerate that works best for your system.
- Lower your in-game resolution or reduce supersampling for better performance.
Q: Where do I get missing shaders?
- Most are included with the standard ReShade install. For third-party shaders, use the links above or check the ReShade forums or the shader author’s GitHub.
Q: Guild Wars 2 won’t launch with ReShade, or ReShade doesn’t appear?
- Make sure you renamed
dxgi.dlltod3d11.dllin your GW2 folder (see Installation Instructions). - Some overlays (Discord, Steam, etc.) can interfere—try disabling them.
Q: The Depth of Field is reversed, why is that?
- Click on the
Edit global preprocessor definitionsbutton from theReShade Menuand changeRESHADE_DEPTH_INPUT_IS_REVERSEDfrom1to0and click on theApplybutton.
Q: My UI is blurry when I use any of the Photo Mode or Always On - DOF Presets, how do I fix that?
- In order for your UI to not be affected by
qUINT_dof.fxtheREST add-onis required. You can rerun the ReShade installation and follow the steps in the Installation Instructions to ensure that the REST add-on is installed and then ensure that myReshadeEffectShaderToggler.iniis placed into yourGuild Wars 2 Game Folderwhich isC:\Program Files\Guild Wars 2(default for standalone launcher players) orC:\Program Files (x86)\Steam\steamapps\common\Guild Wars 2(default for Steam players)
Q: Why is everything except the UI very dark?
- This will happen when using
ReshadeEffectShaderToggler.inifiles designed for other presets that don’t utilize the same effect packages or for older versions of ReShade - my preset has it’s ownReshadeEffectShaderToggler.inithat has been configured for my current effect package load order and won’t cause this issue. Please download theReshadeEffectShaderToggler.inifrom my repo and replace it with theReshadeEffectShaderToggler.inithat is currently in yourGuild Wars 2 Game Folderwhich isC:\Program Files\Guild Wars 2(default for standalone launcher players) orC:\Program Files (x86)\Steam\steamapps\common\Guild Wars 2(default for Steam players)
Q: Is this compatible with Blish HUD?
- Yes! After following the Installation Instructions simply download and extract Blish HUD, run the
Blish HUD.exefile, and then start Guild Wars 2!
Q: Is this compatible with arcdps?
- Yes! After following the Installation Instructions download arcdps, rename the
d3d11.dllfile from arcdps todxgi.dll, place it into yourGuild Wars 2 Game Folderwhich isC:\Program Files\Guild Wars 2(default for standalone launcher players) orC:\Program Files (x86)\Steam\steamapps\common\Guild Wars 2(default for Steam players), and then start Guild Wars 2!
Q: Is this compatible with Nexus?
- Yes! After following the Installation Instructions download Nexus using the “More advanced users can download the .DLL directly here” link, rename the
d3d11.dllfile you renamed in the installation instructions back todxgi.dll, copy and paste thed3d11.dllfile fromNexusinto theGuild Wars 2 Game Folder, and then copy thedxgi.dllfile and put it in the\bin64\cef folder. If you would like to useRESTthen you will need to also copy and paste theReshadeEffectShaderToggler.addon64andReshadeEffectShaderToggler.iniinto your\bin64\ceffolder as well. Start the game, however, when it runs it will treat it like a new ReShade installation, open theReShade Menu(Home key by default) and in theSettings Tabchange yourEffects Search PathstoC:\Program Files\Guild Wars 2\**(modify this appropriately if you’re running Steam) and yourTexture Search PathstoC:\Program Files\Guild Wars 2\**(modify this appropriately if you’re running steam), navigate back to theHome tab, click theReloadbutton at the bottom, open thePreset Selectorat the top of the screen, navigate up two levels by clicking on..twice, your list of presets should appear,select the desired preset. Since this is considered a new installation of ReShade it will lose all the Global Preprocessor Definitions normally included, so from theReShade Menuclick on the blueEdit global preprocessor definitionsbutton and add the following and then click theApplybutton:-
RESHADE_DEPTH_LINEARIZATION_FAR_PLANE 1000.0 -
RESHADE_DEPTH_INPUT_IS_UPSIDE_DOWN 0 -
RESHADE_DEPTH_INPUT_IS_REVERSED 0 -
RESHADE_DEPTH_INPUT_IS_LOGARITHMIC 0
-
License
The presets, documentation, and configuration files in this repository are licensed under the MIT License. See LICENSE for details. Please credit Elora/AlteredM1nd if redistributing or showcasing them.
This repository also packages third-party shaders and textures, which remain under their respective licenses. Original license headers are preserved in the source files. See the section below for a concise attribution matrix and license links.
Third‑Party Licenses and Attributions
The following shader packs and files are included and are subject to their own licenses. If you redistribute this repository (e.g., forks or releases), you must preserve the license headers inside the shader files and the attributions below.
- ReShade repository shaders by crosire & contributors — MIT (various files such as
AmbientLight.fx,MagicBloom.fx,Deband.fx,GaussianBlur.fx,Vibrance.fx,SMAA.fxh,UIMask.fx, etc.). License notices are in-file. Reference:reshade-shaders/Shaders/*. - AMD FidelityFX/CAS/RCAS code (AMD) — MIT-like (in-file notices), e.g.,
SweetFX/CAS.fx,ReShade_HDR_shaders/lilium__include/{cas,rcas}.fxh. - Microsoft tone mapping utilities — MIT-like (in-file notices), e.g.,
CShade/shared/{cTonemap.fxh,cMath.fxh}. - PD80 shaders by prod80 — MIT (in-file), e.g.,
PD80_02_Bloom.fx,PD80_03_Filmic_Adaptation.fx,PD80_04_Color_Temperature.fx. - Barbatos shaders — MIT (in-file), e.g.,
Barbatos/{GBloom.fx,NeoSSAO.fx,Shading.fx,DTAA.fx,UFakeHDR.fx}. - FXShaders — MIT and Public Domain components (see in-file notices), e.g.,
FXShaders/ACES.fxh(MIT),FXShaders/CRT_Lottes.fxh(public domain dedication in-file). - GShade-Shaders — mixed:
- DropShadow.fxh — MIT (in-file)
- Spotlight.fxh — MIT (in-file)
- SmartDeNoise.fx — BSD 2‑Clause (in-file)
- StageDepth.fxh — WTFPL v2 (in-file)
- SHADERDECK by TreyM — All Rights Reserved. (installed via the ReShade installer; not bundled here)
- ZenteonFX by Daniel Oren‑Ibarra — All Rights Reserved. (installed via the ReShade installer; not bundled here)
- AstrayFX — Creative Commons licenses:
- BloomingHDR.fx — CC BY‑SA 4.0. If you adapt/modify, you must attribute and share alike. Link: CC BY‑SA 4.0
- GloomAO.fx — CC BY‑ND 4.0. You may redistribute unmodified; derivatives may not be distributed. Link: CC BY‑ND 4.0
- NiceGuy‑Shaders — contains embedded snippets under MIT and a Shadertoy snippet by Nikos Papadopoulos (4rknova) under CC BY‑NC‑SA 3.0; attribution retained in-file. Link: CC BY‑NC‑SA 3.0
- REST (Reshade Effect Shader Toggler) — MIT; license file included at
reshade-shaders/Shaders/REST/LICENSE. - NVIDIA FXAA (
SweetFX/FXAA.fxh) — NVIDIA permissive license; retain the in-file notice verbatim.
General guidance:
- Preserve all original file headers and this section when redistributing.
- For CC‑licensed files, provide attribution, link the license, and indicate if changes were made. Unless stated otherwise here, files are included unmodified.
- If you are an author listed above and would like attribution wording adjusted, please open an issue.
Contact and Links
For questions, feedback, or suggestions:
- Discord: alteredm1nd
- Reddit: u/alteredm1nd
- Youtube: AlteredM1nd
- In Game: AlteredMind.3275
- GitHub Issues
- GitHub Discussions
If you would like to learn more about this project:
- Github Repository: https://github.com/AlteredM1nd/gw2-reshade-eloras-personal-presets
- Github Pages Site: https://alteredm1nd.github.io/gw2-reshade-eloras-personal-presets
- YouTube Channel: https://www.youtube.com/@AlteredM1nd
- Preset Installation Video Guide: https://www.youtube.com/watch?v=0TiUlbCXWzY
Preset Previews

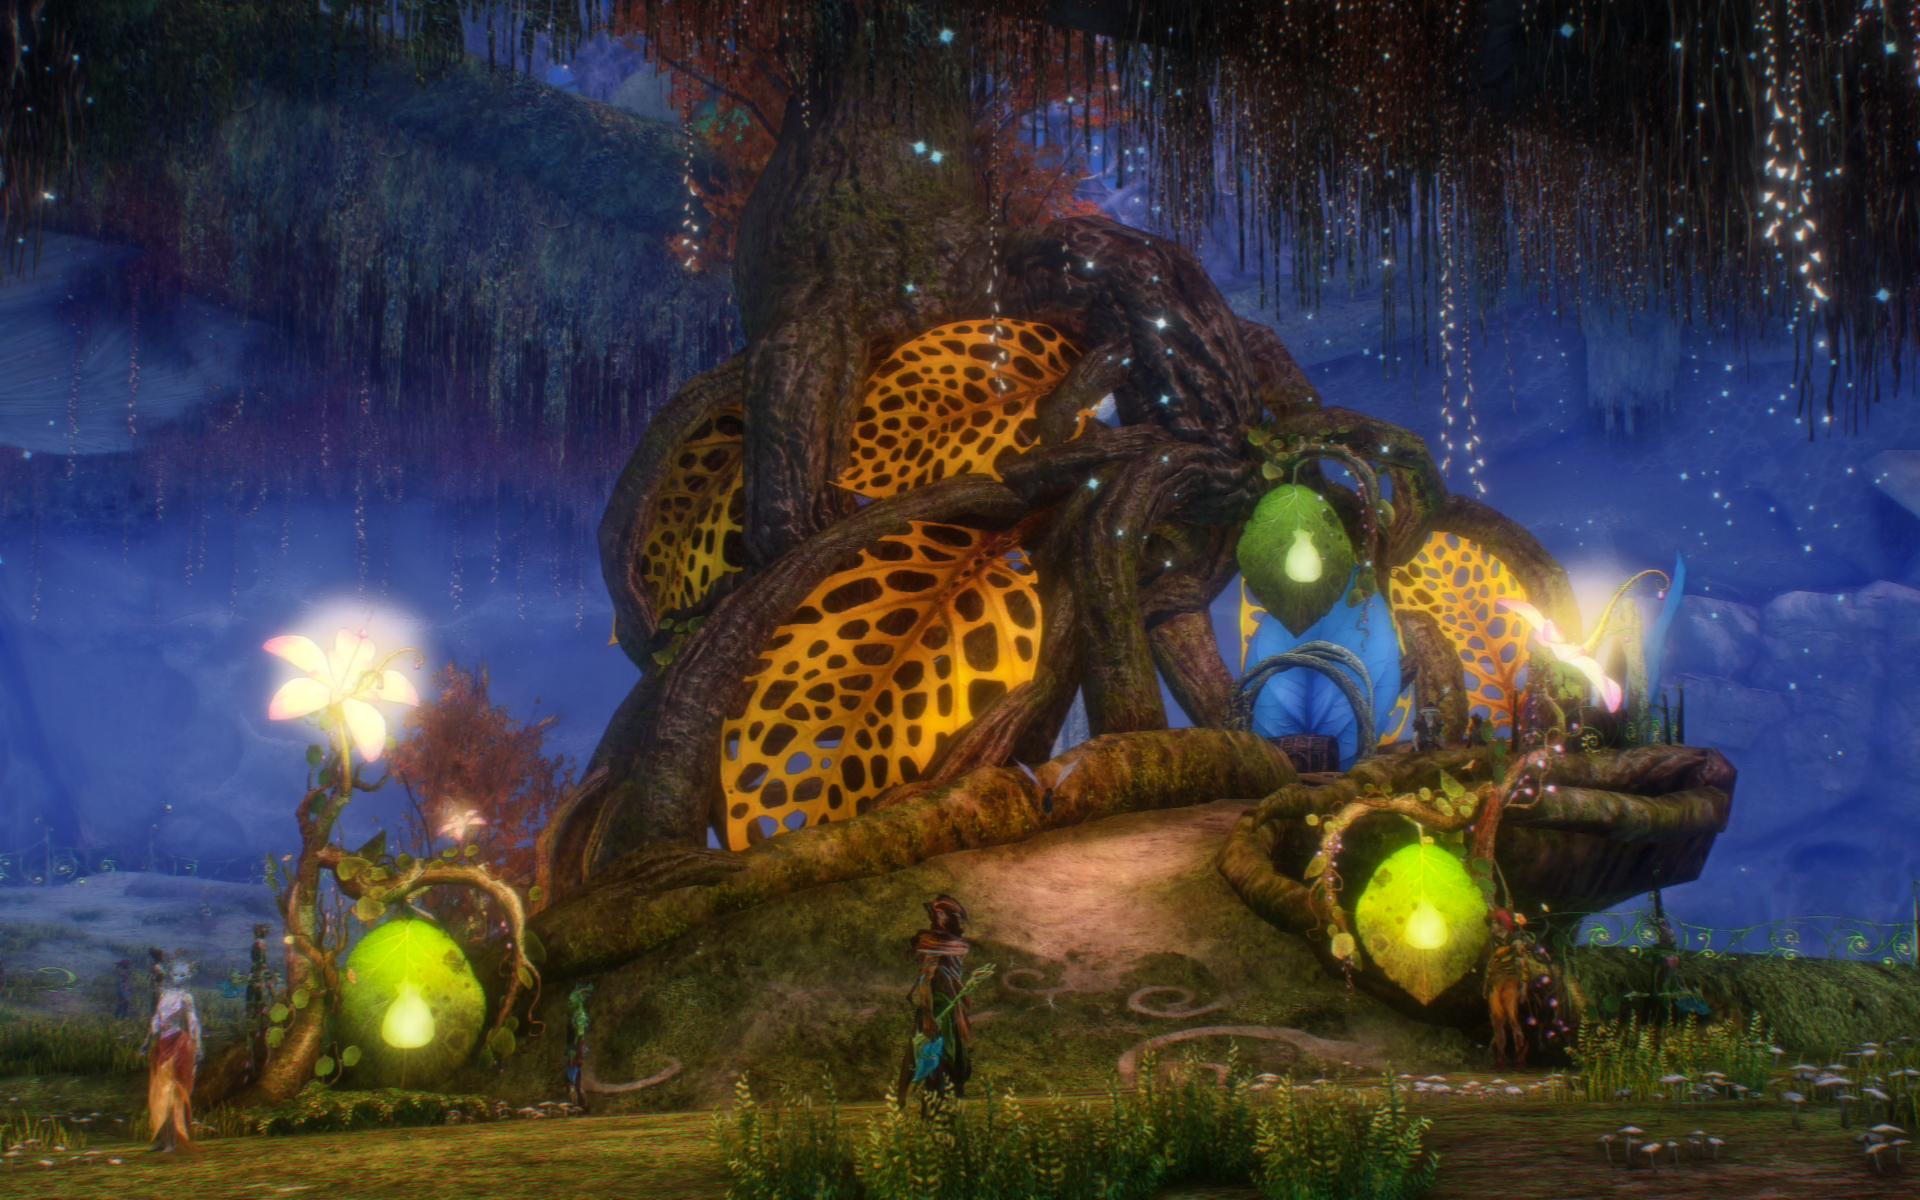
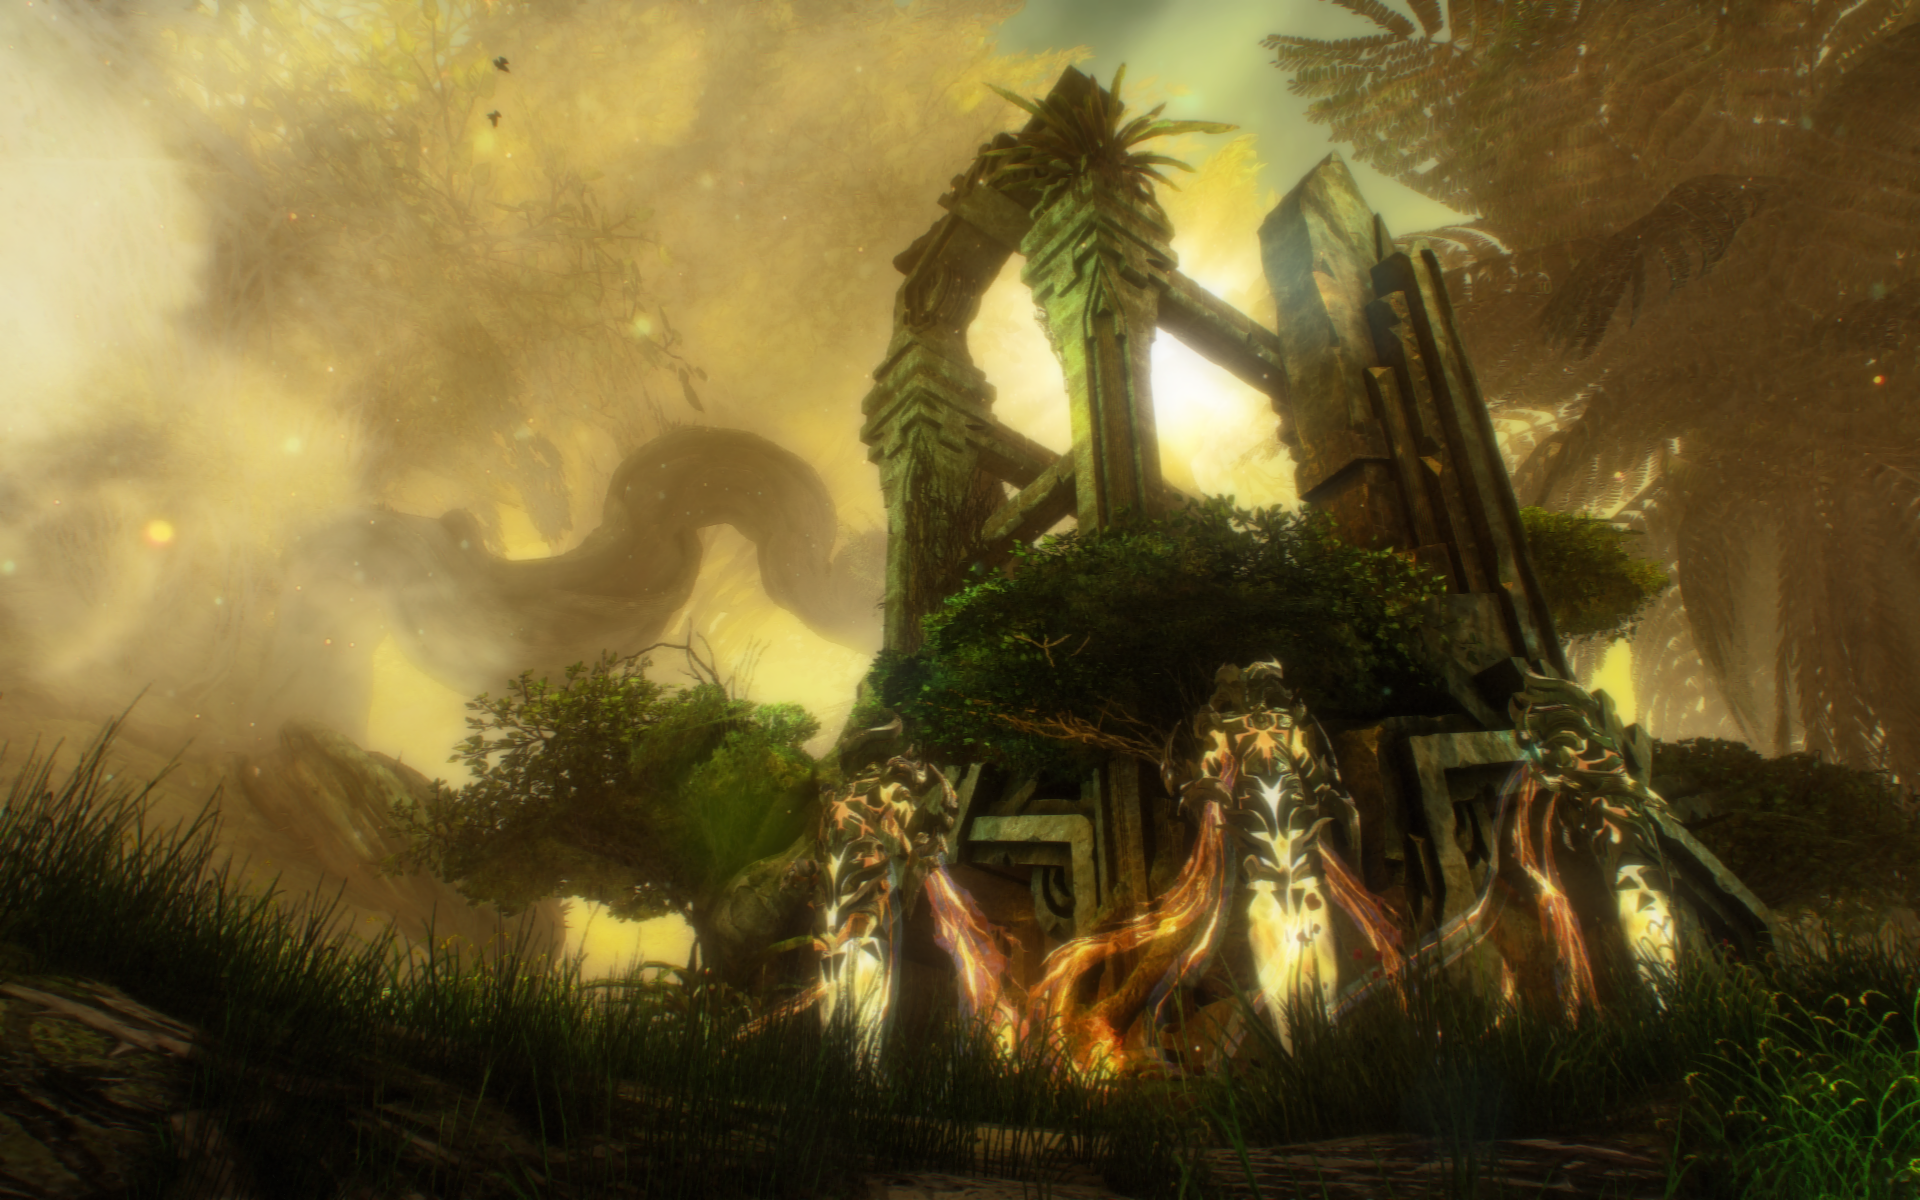
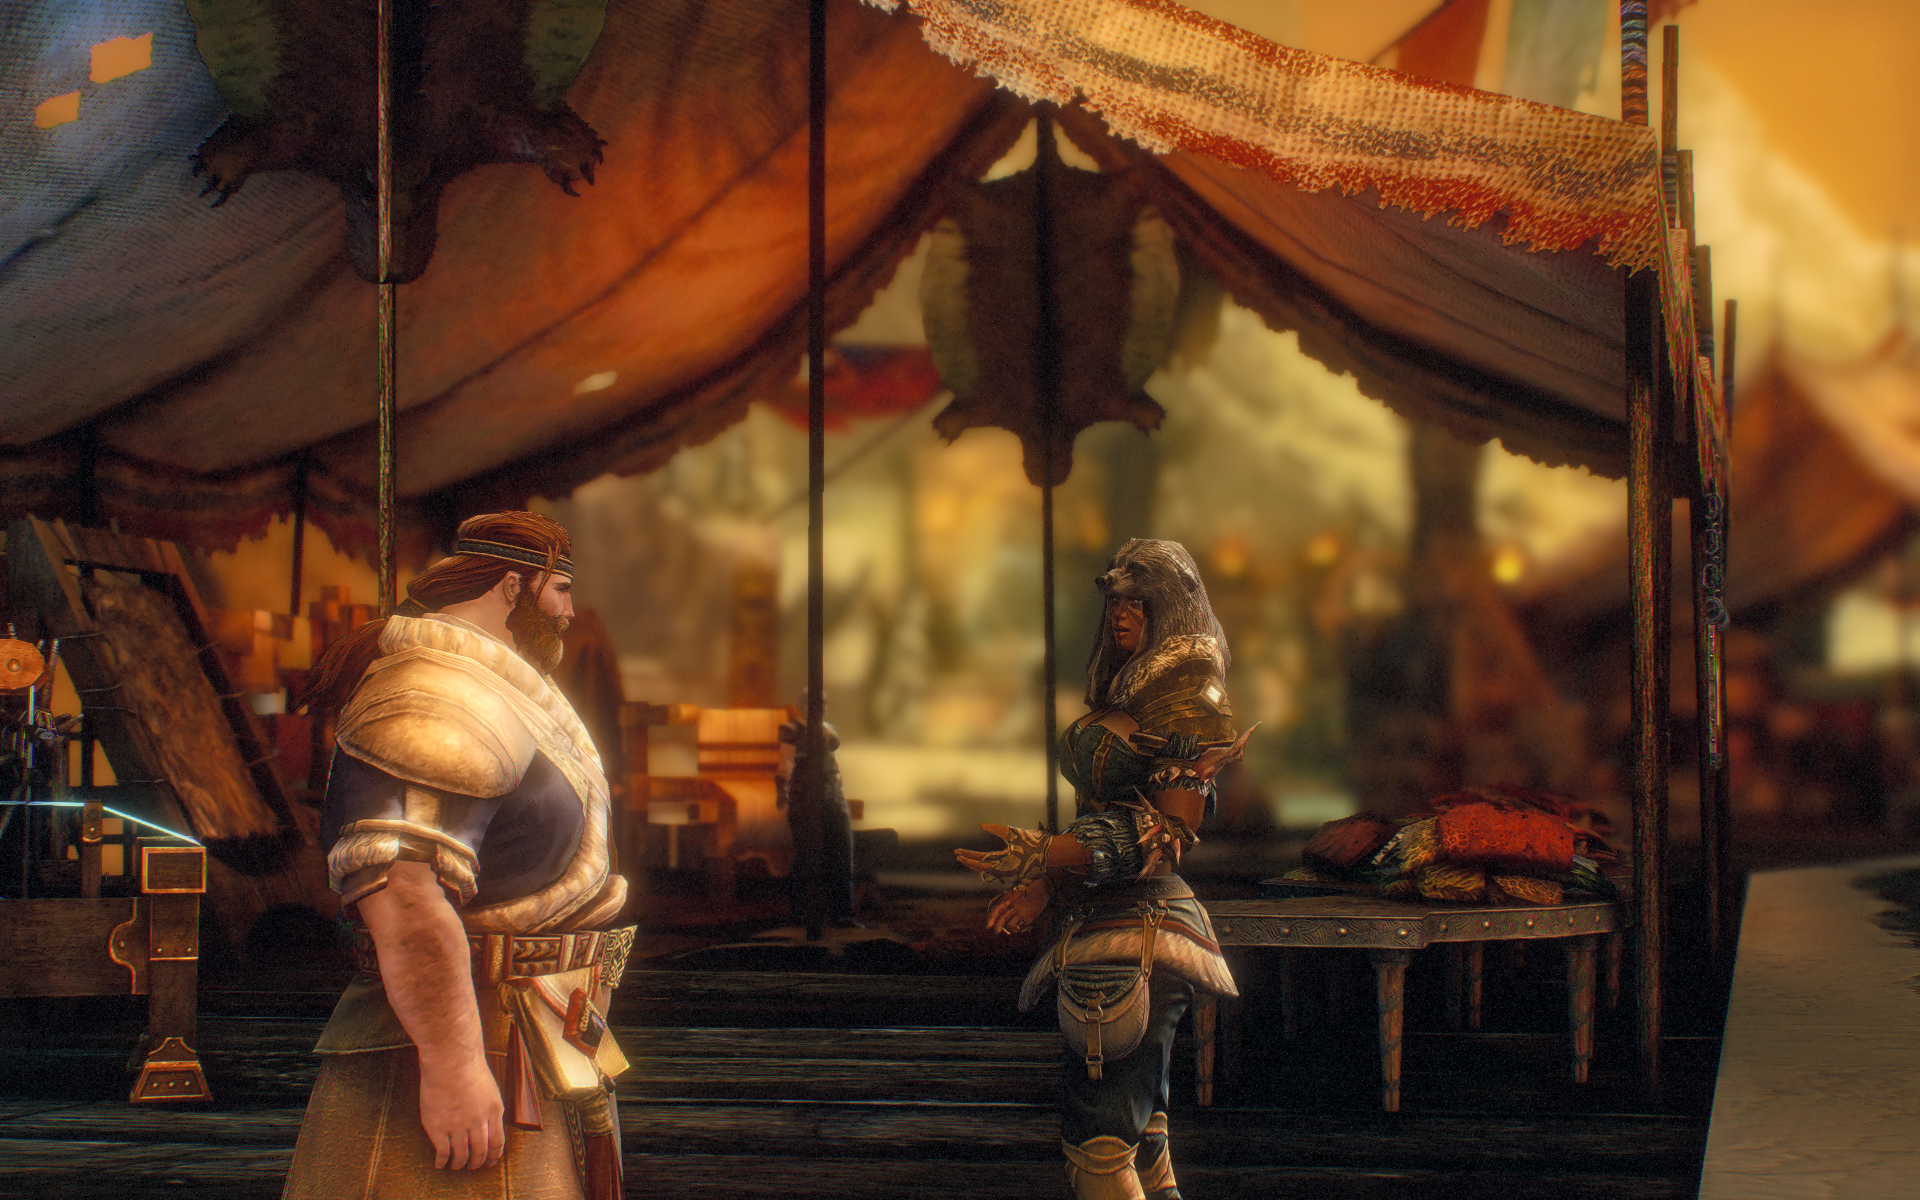
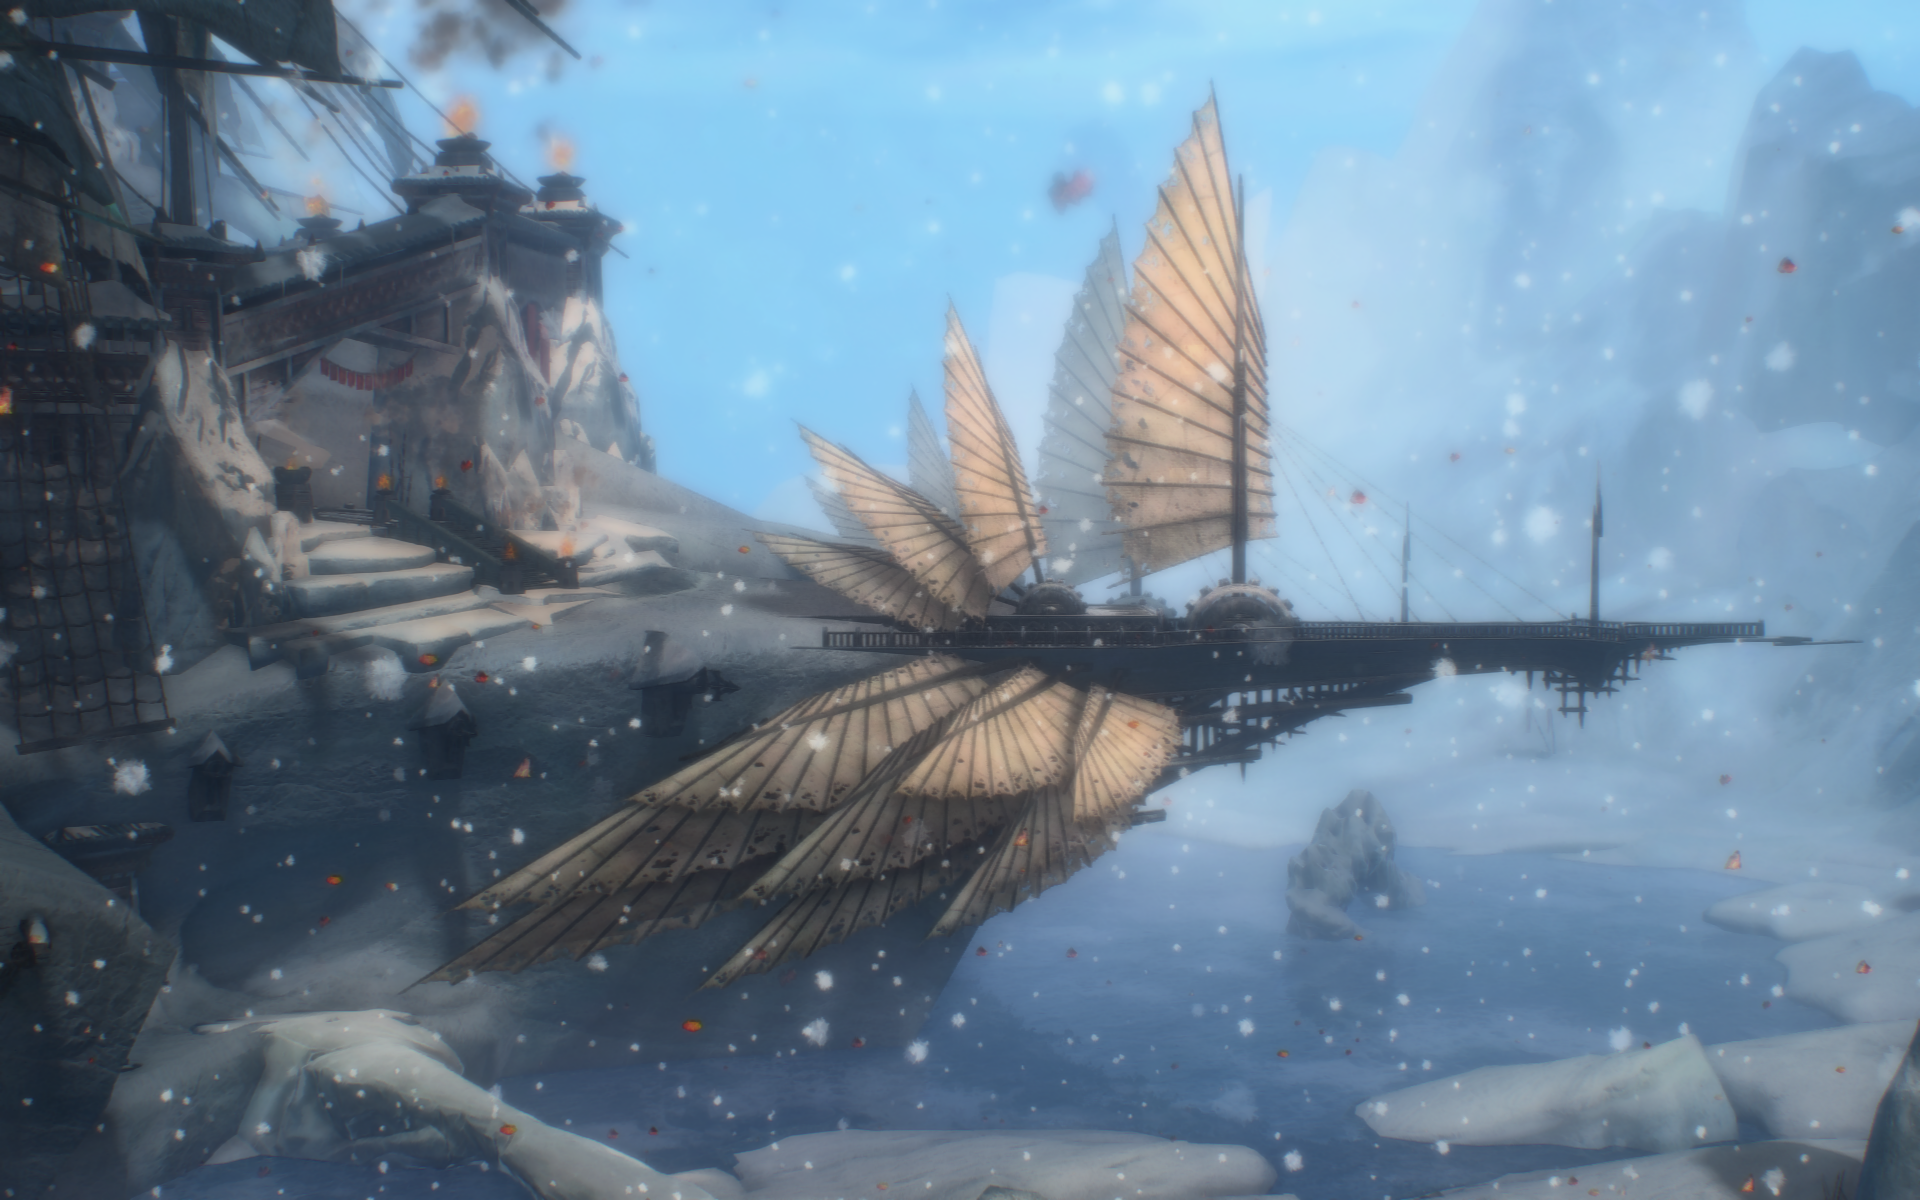
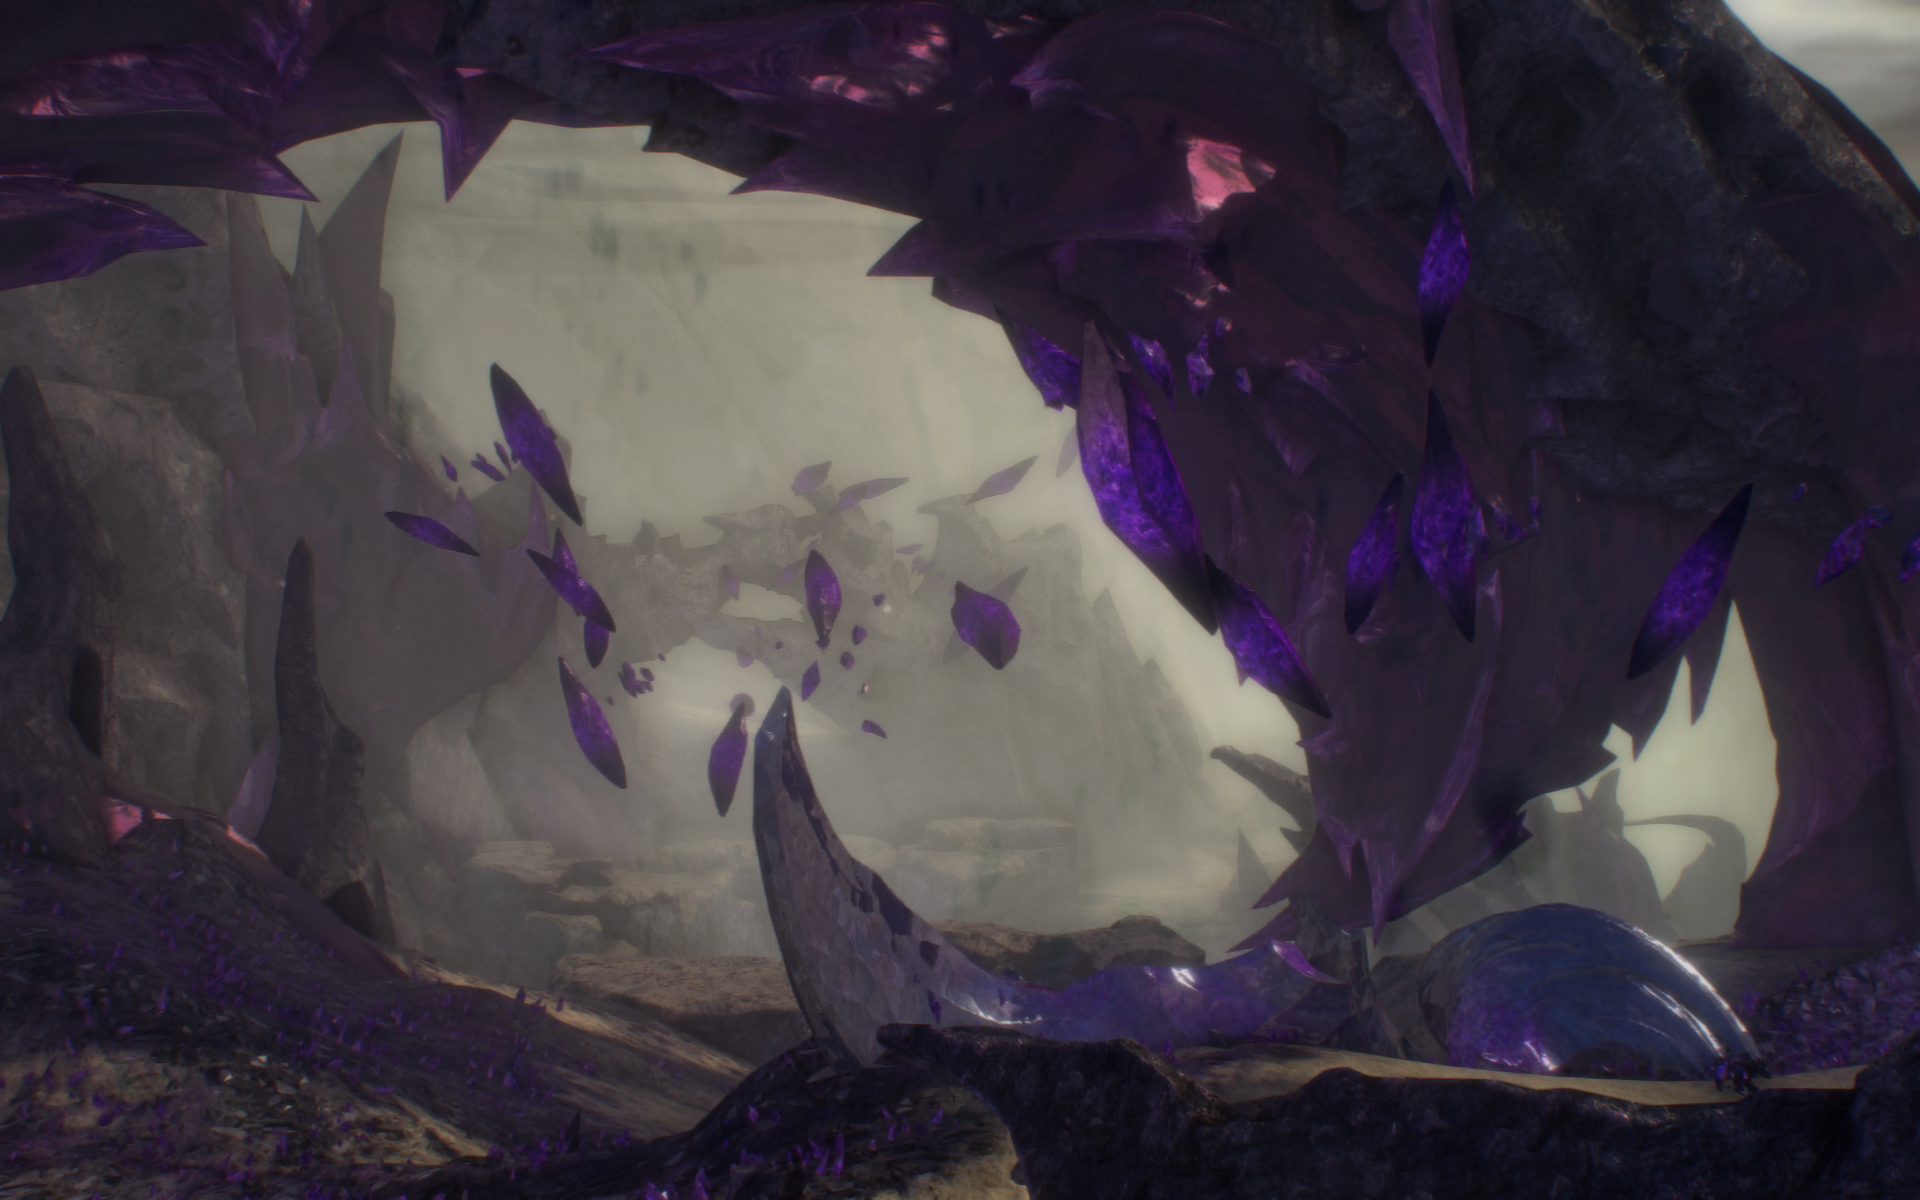
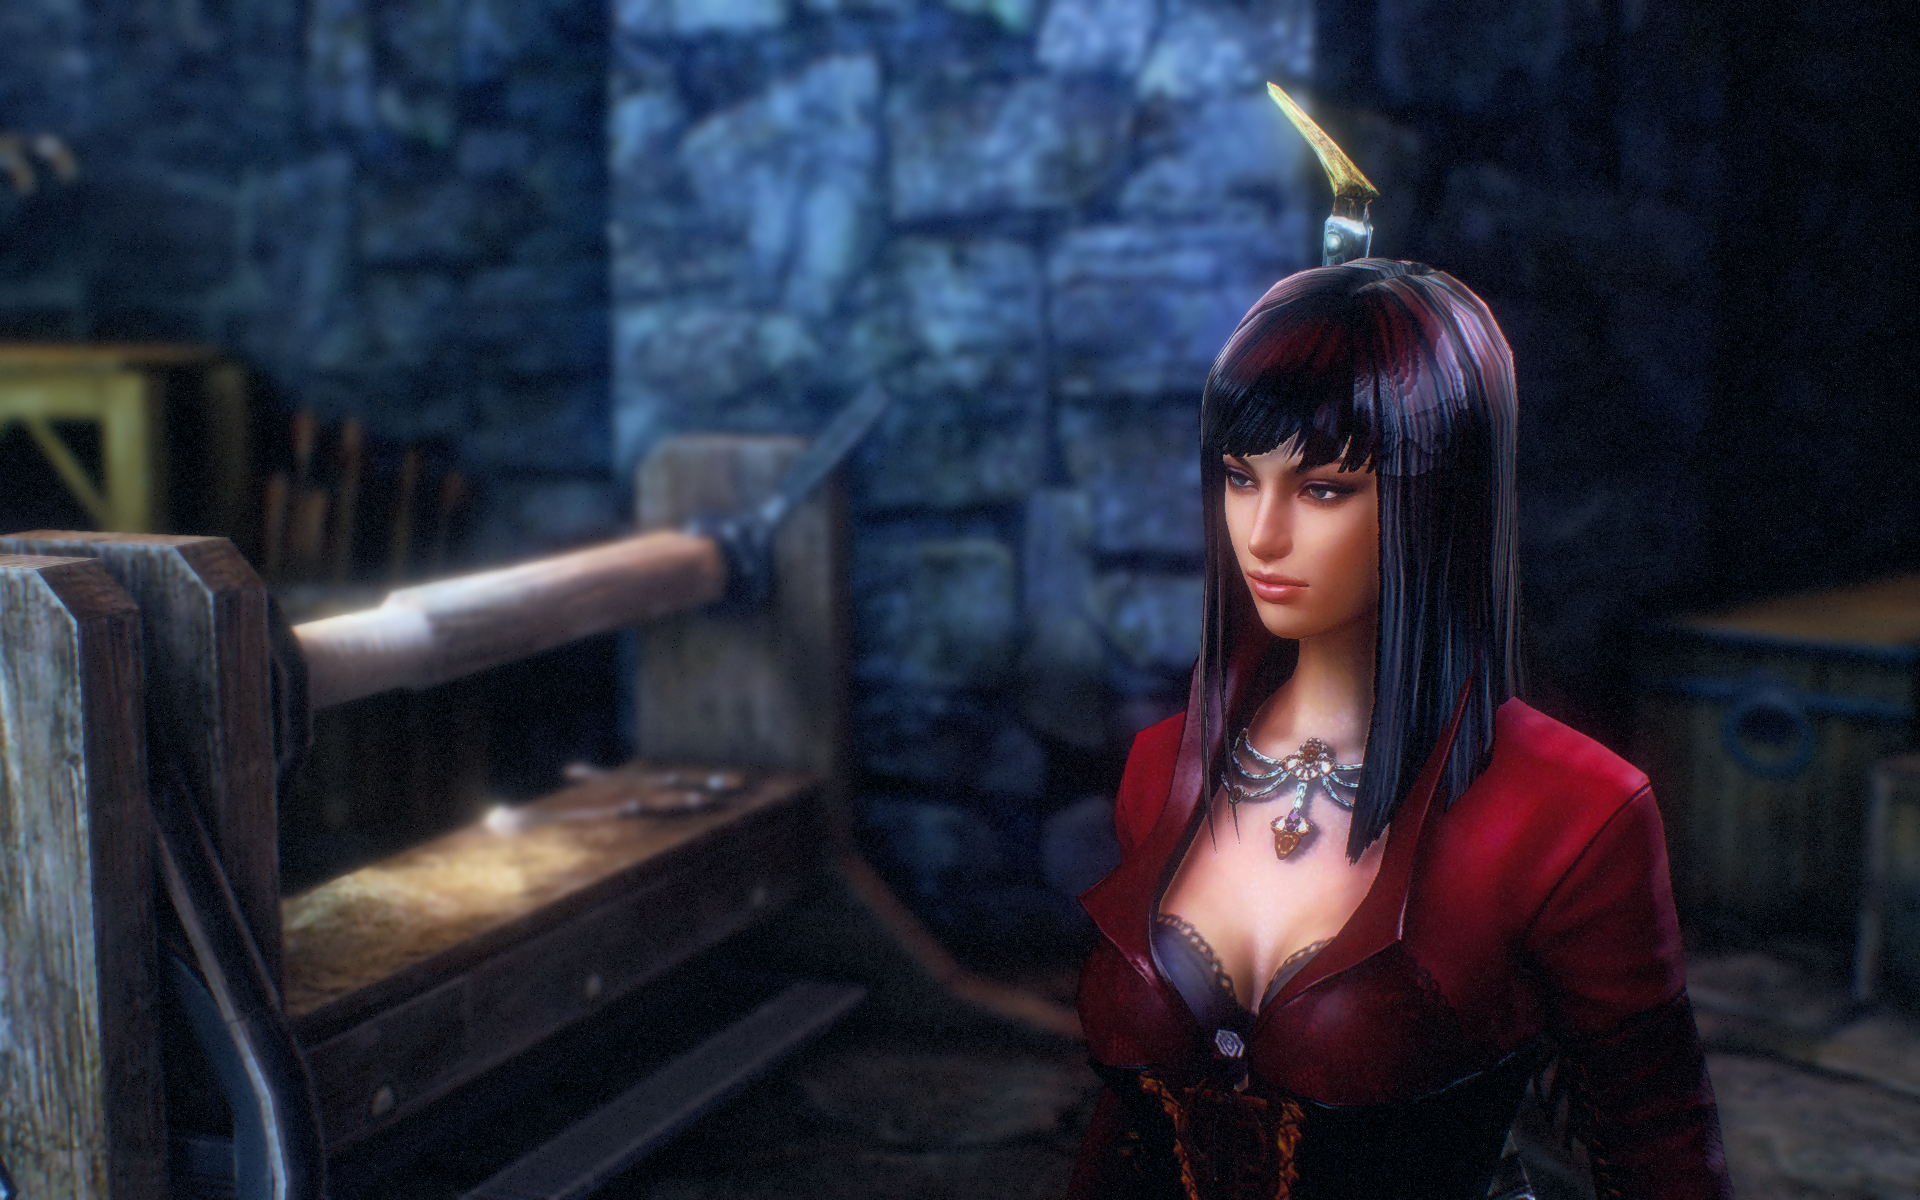
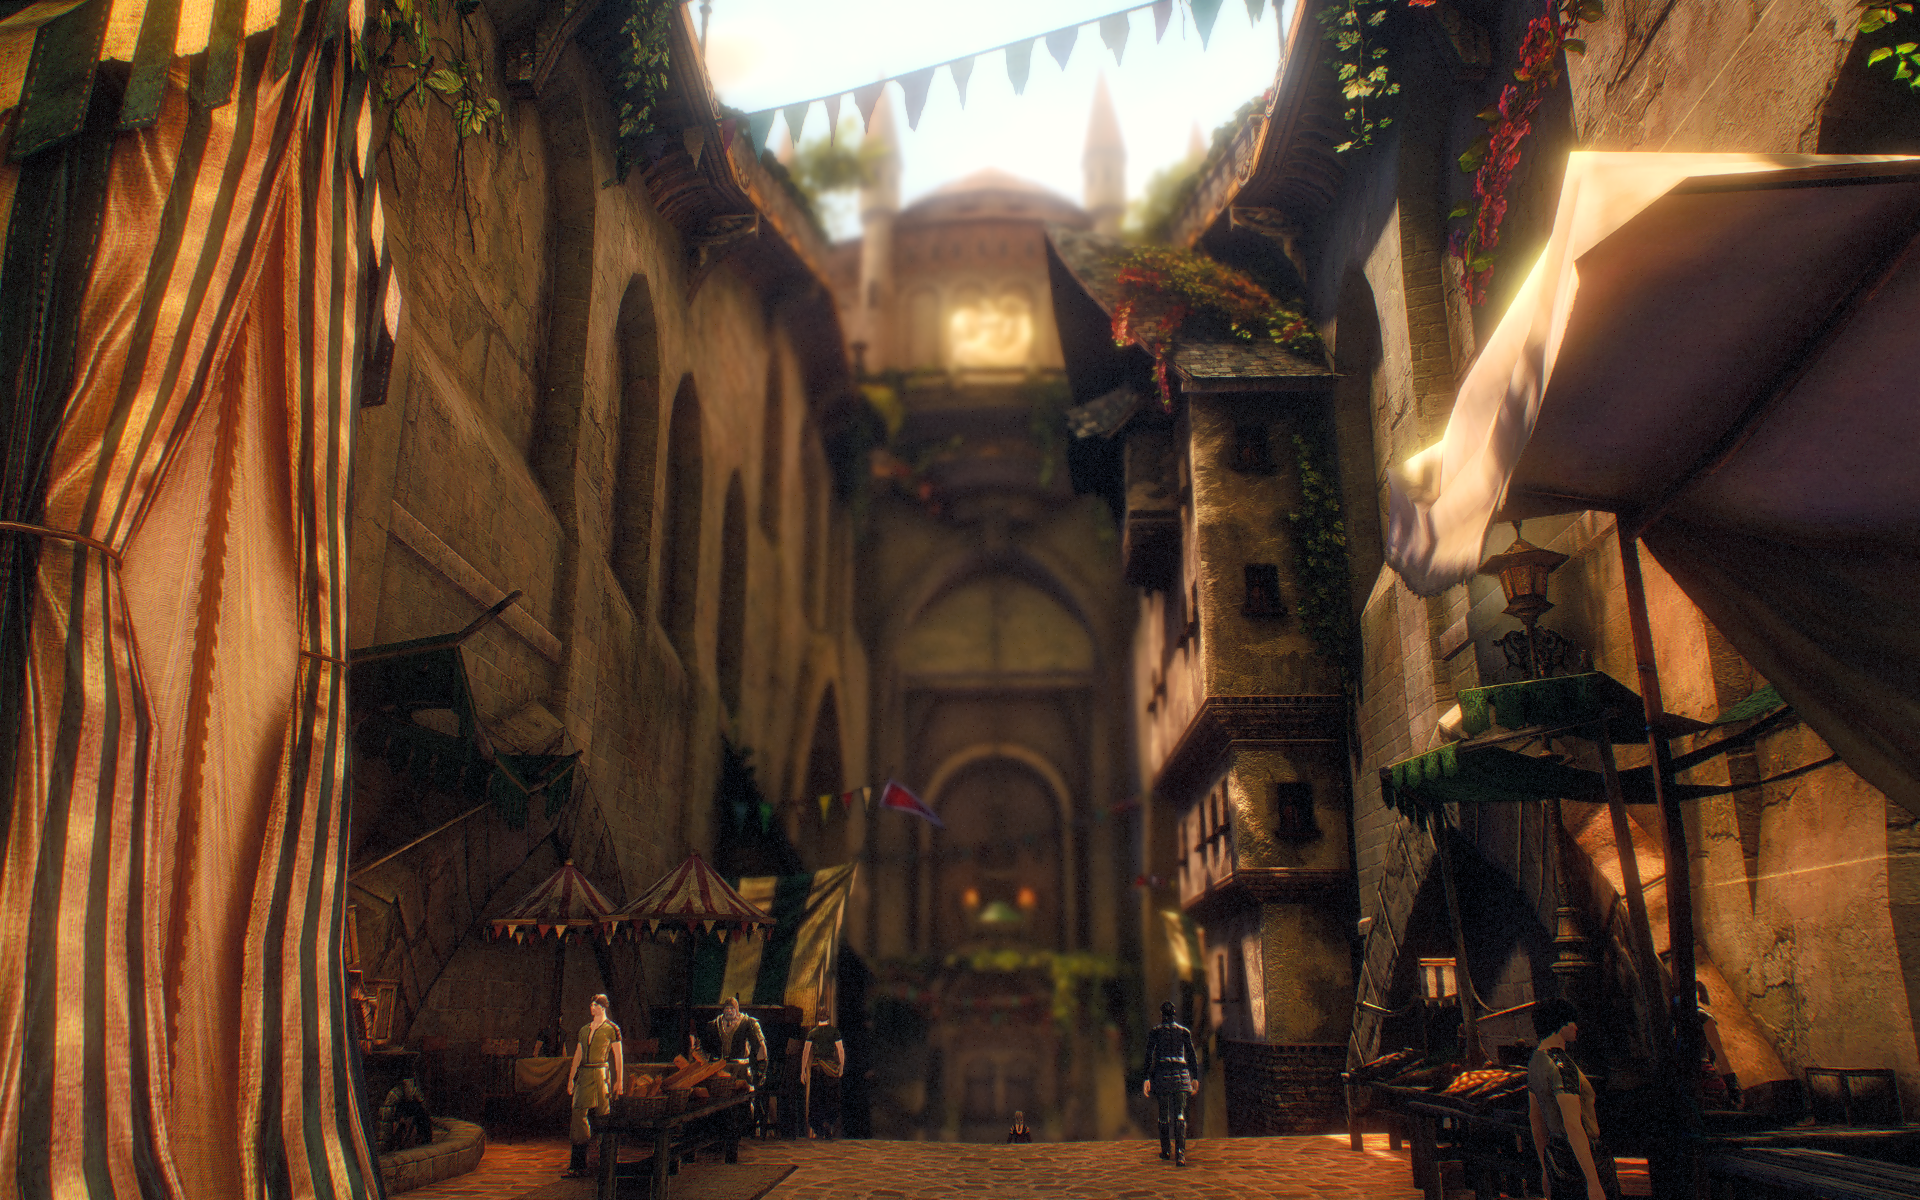
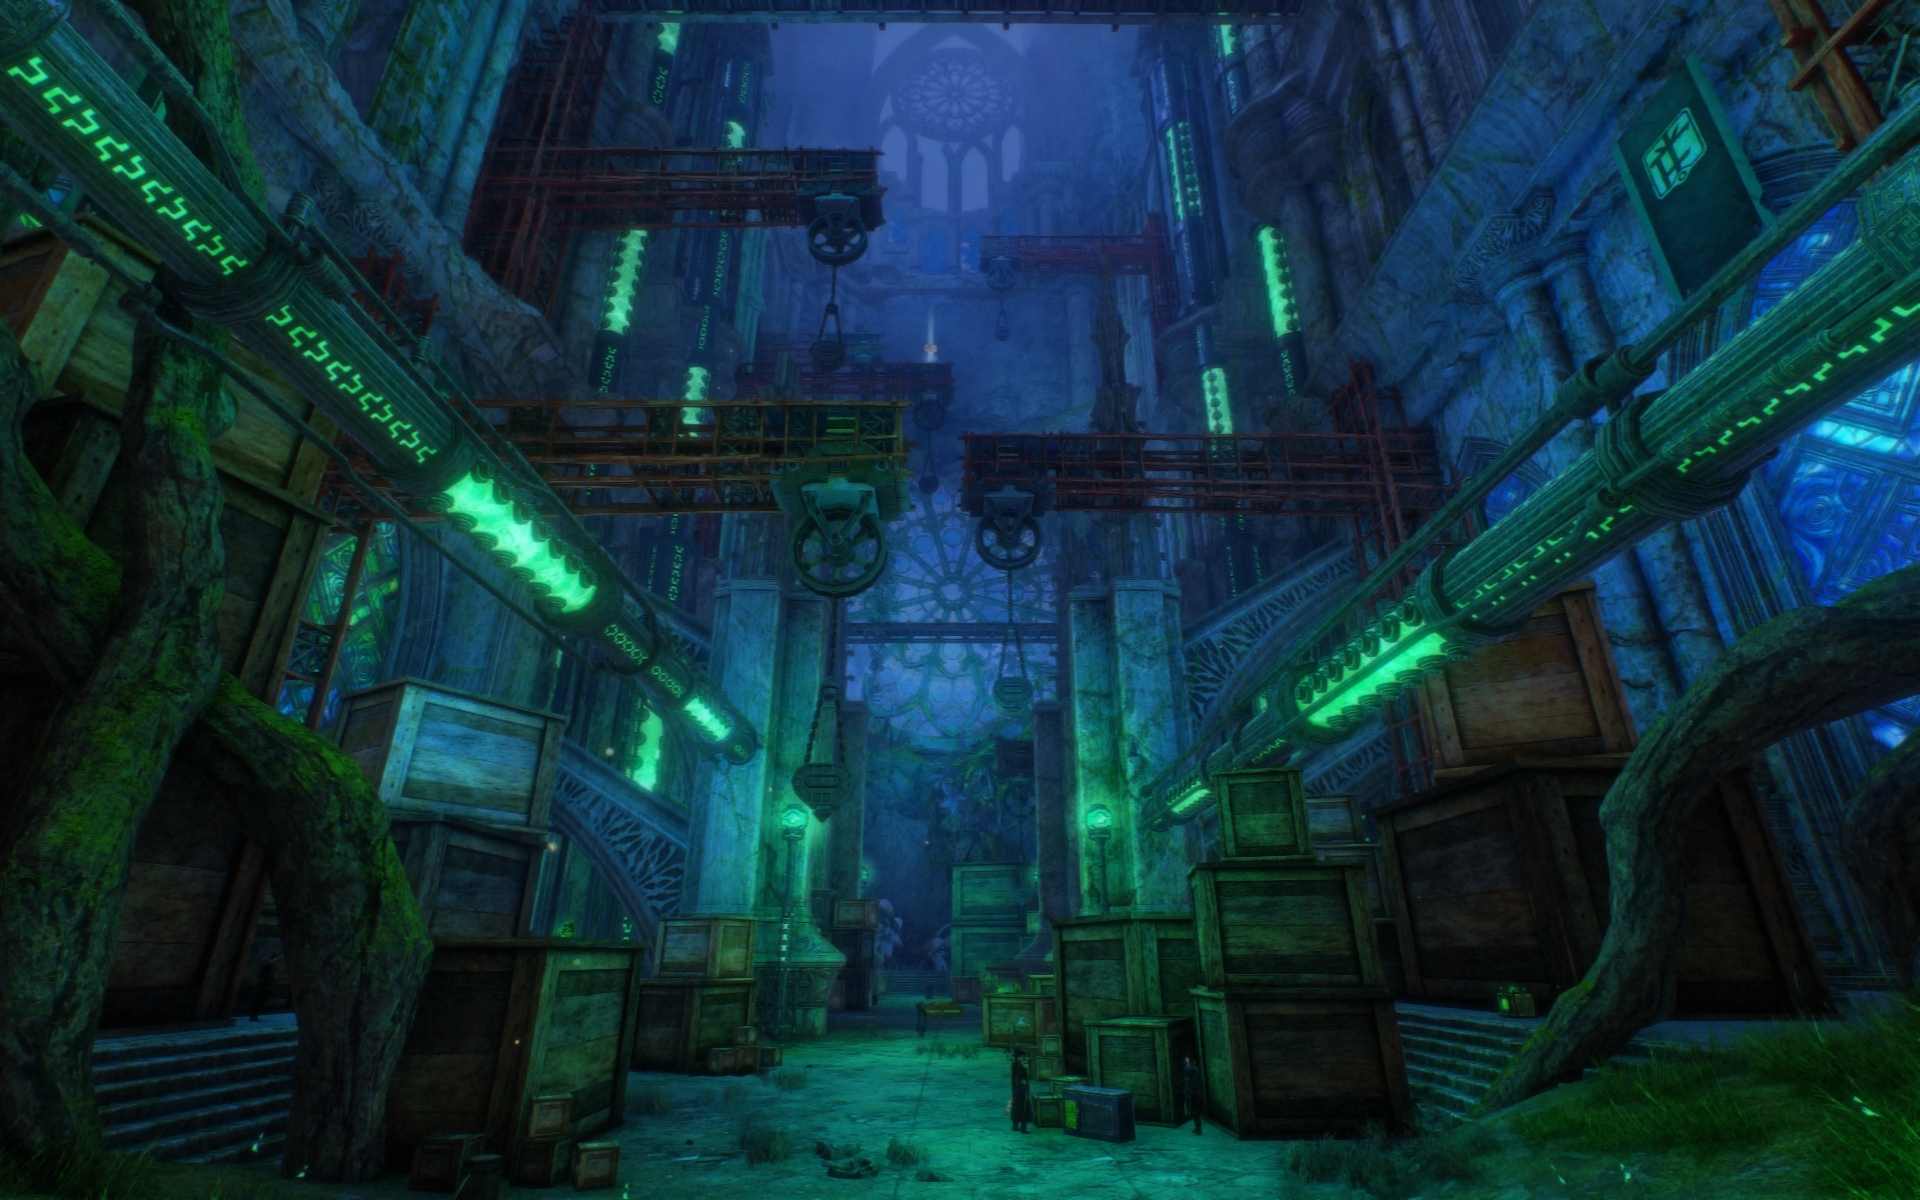
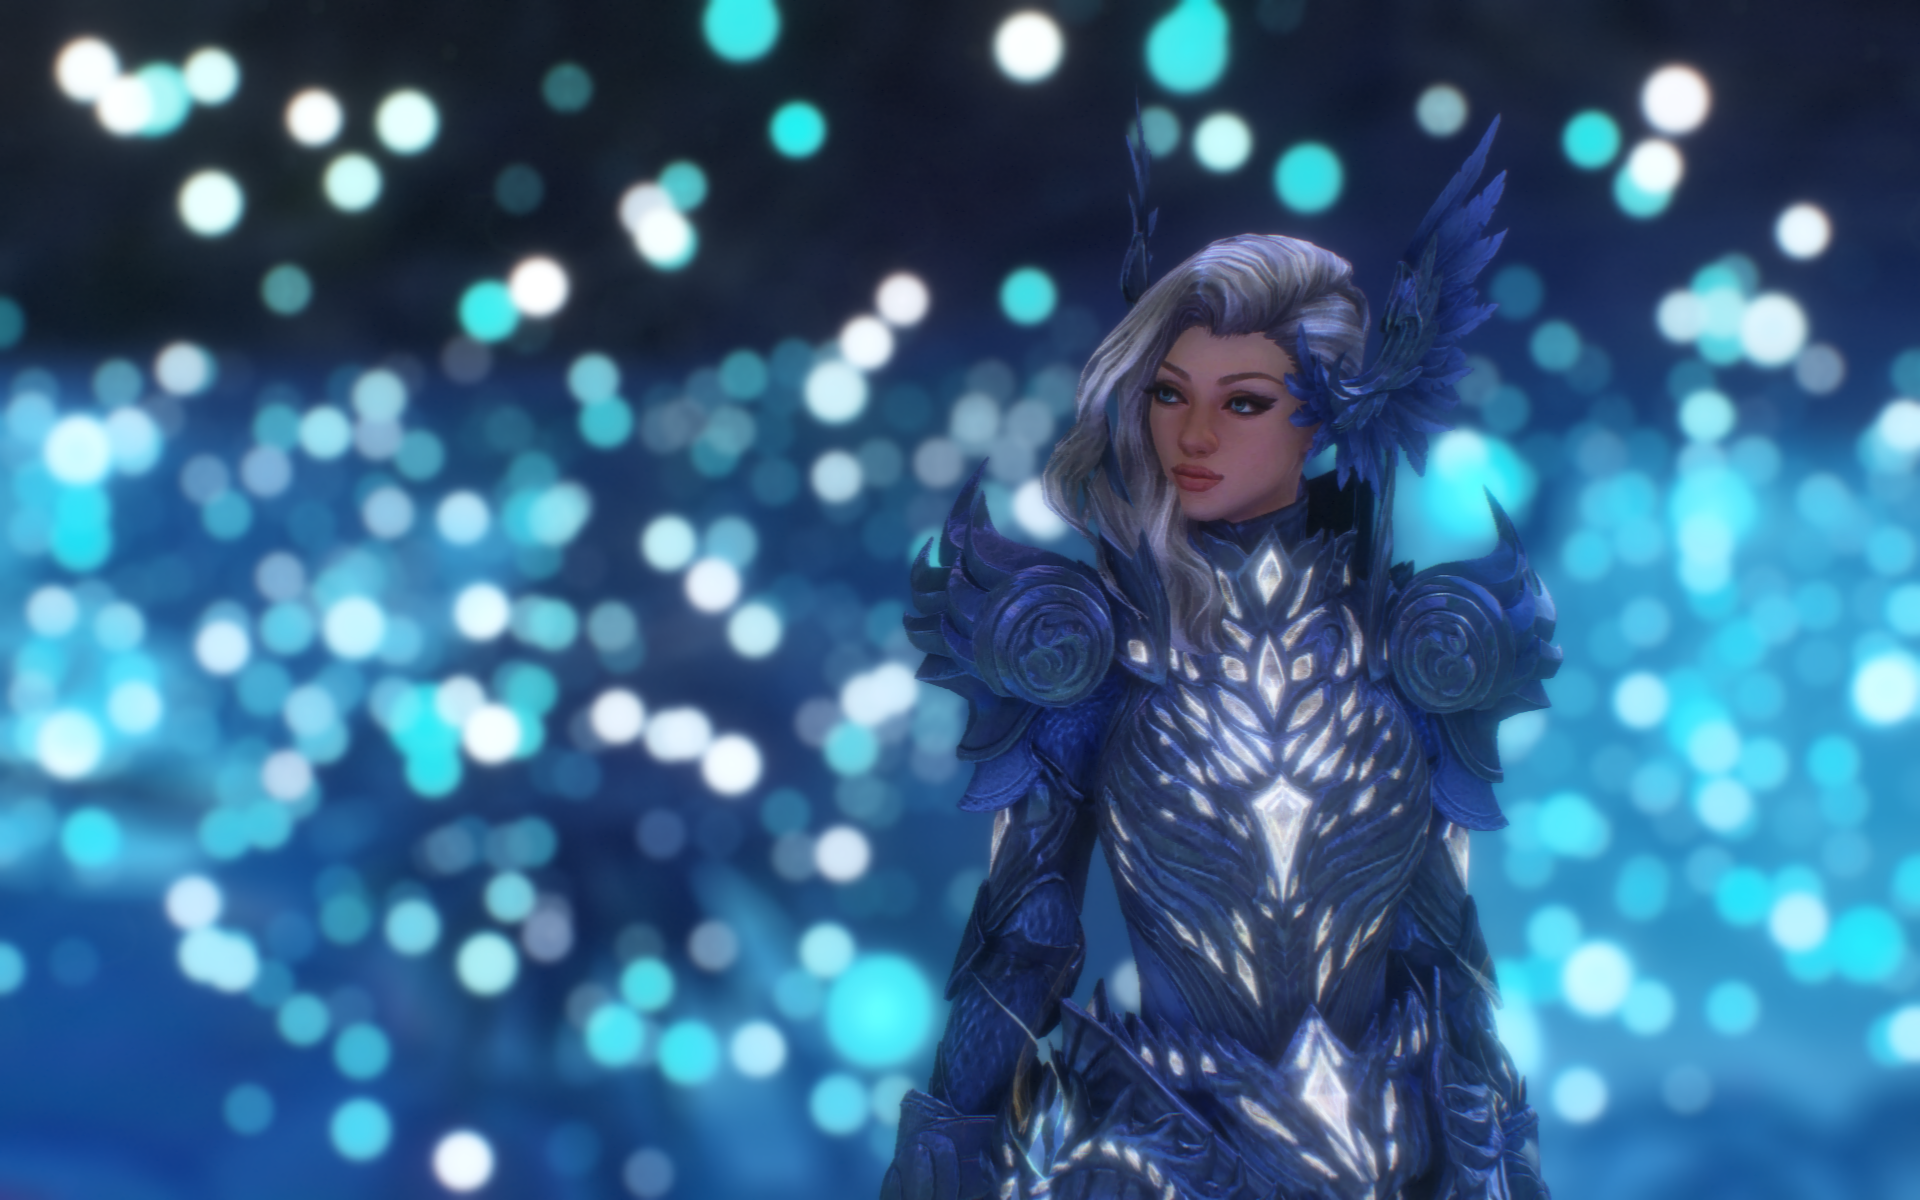
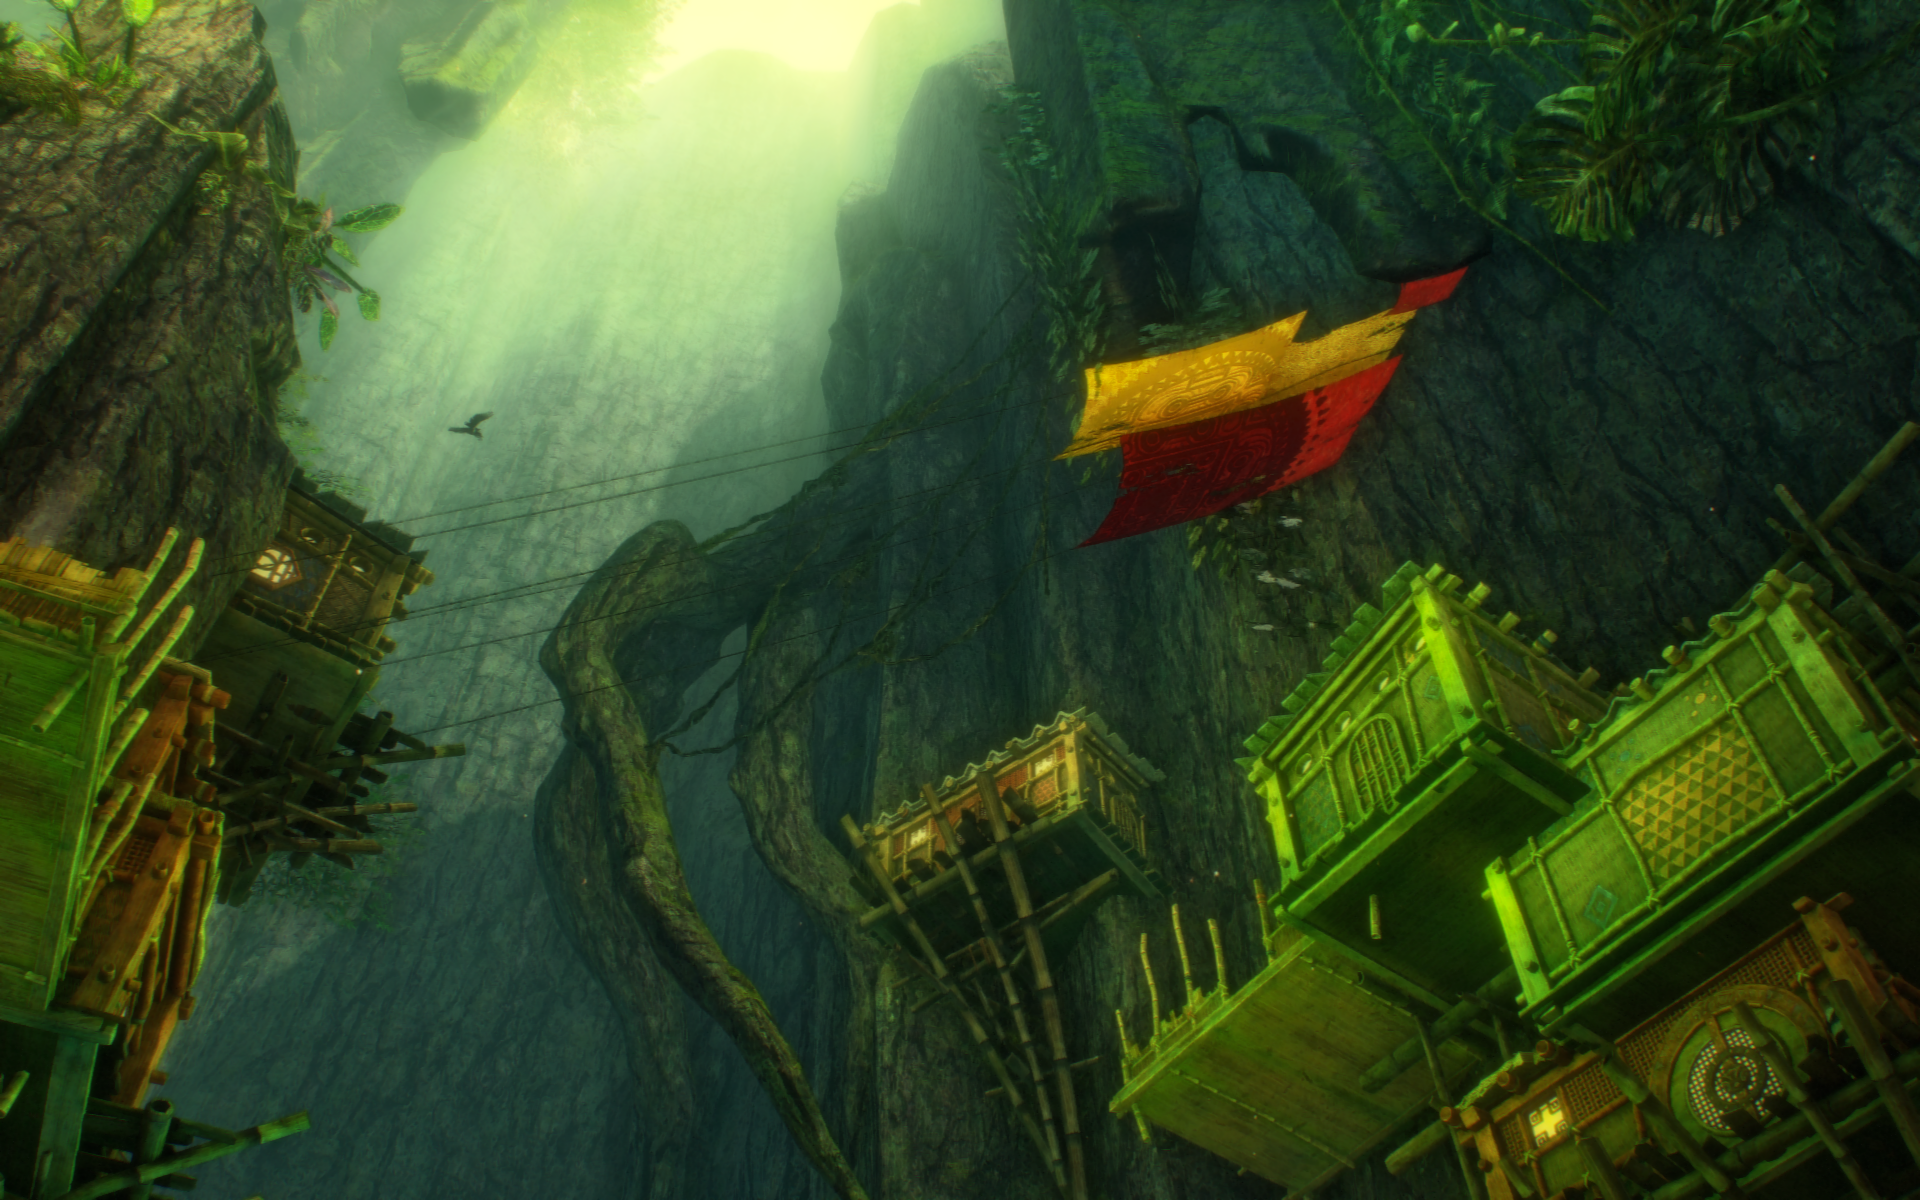
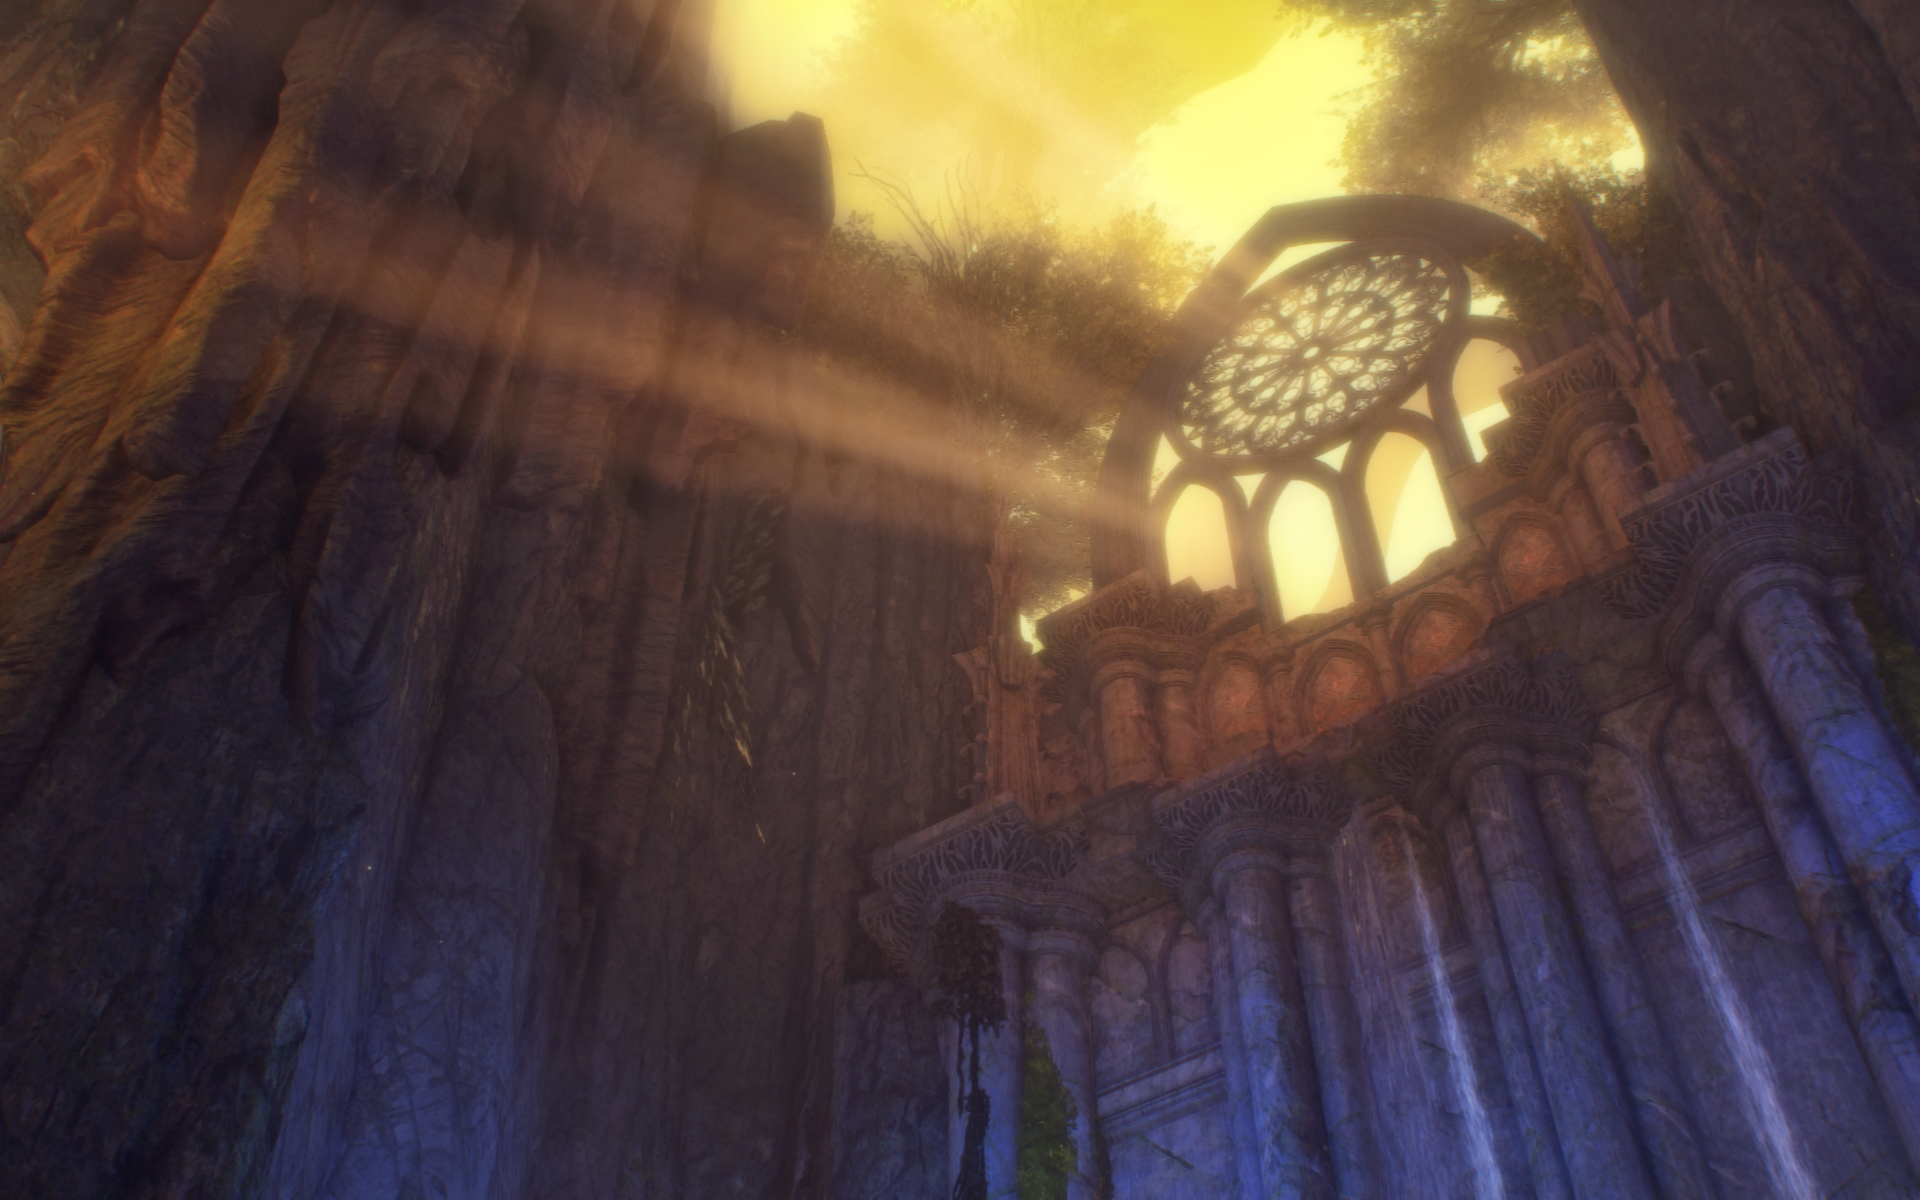
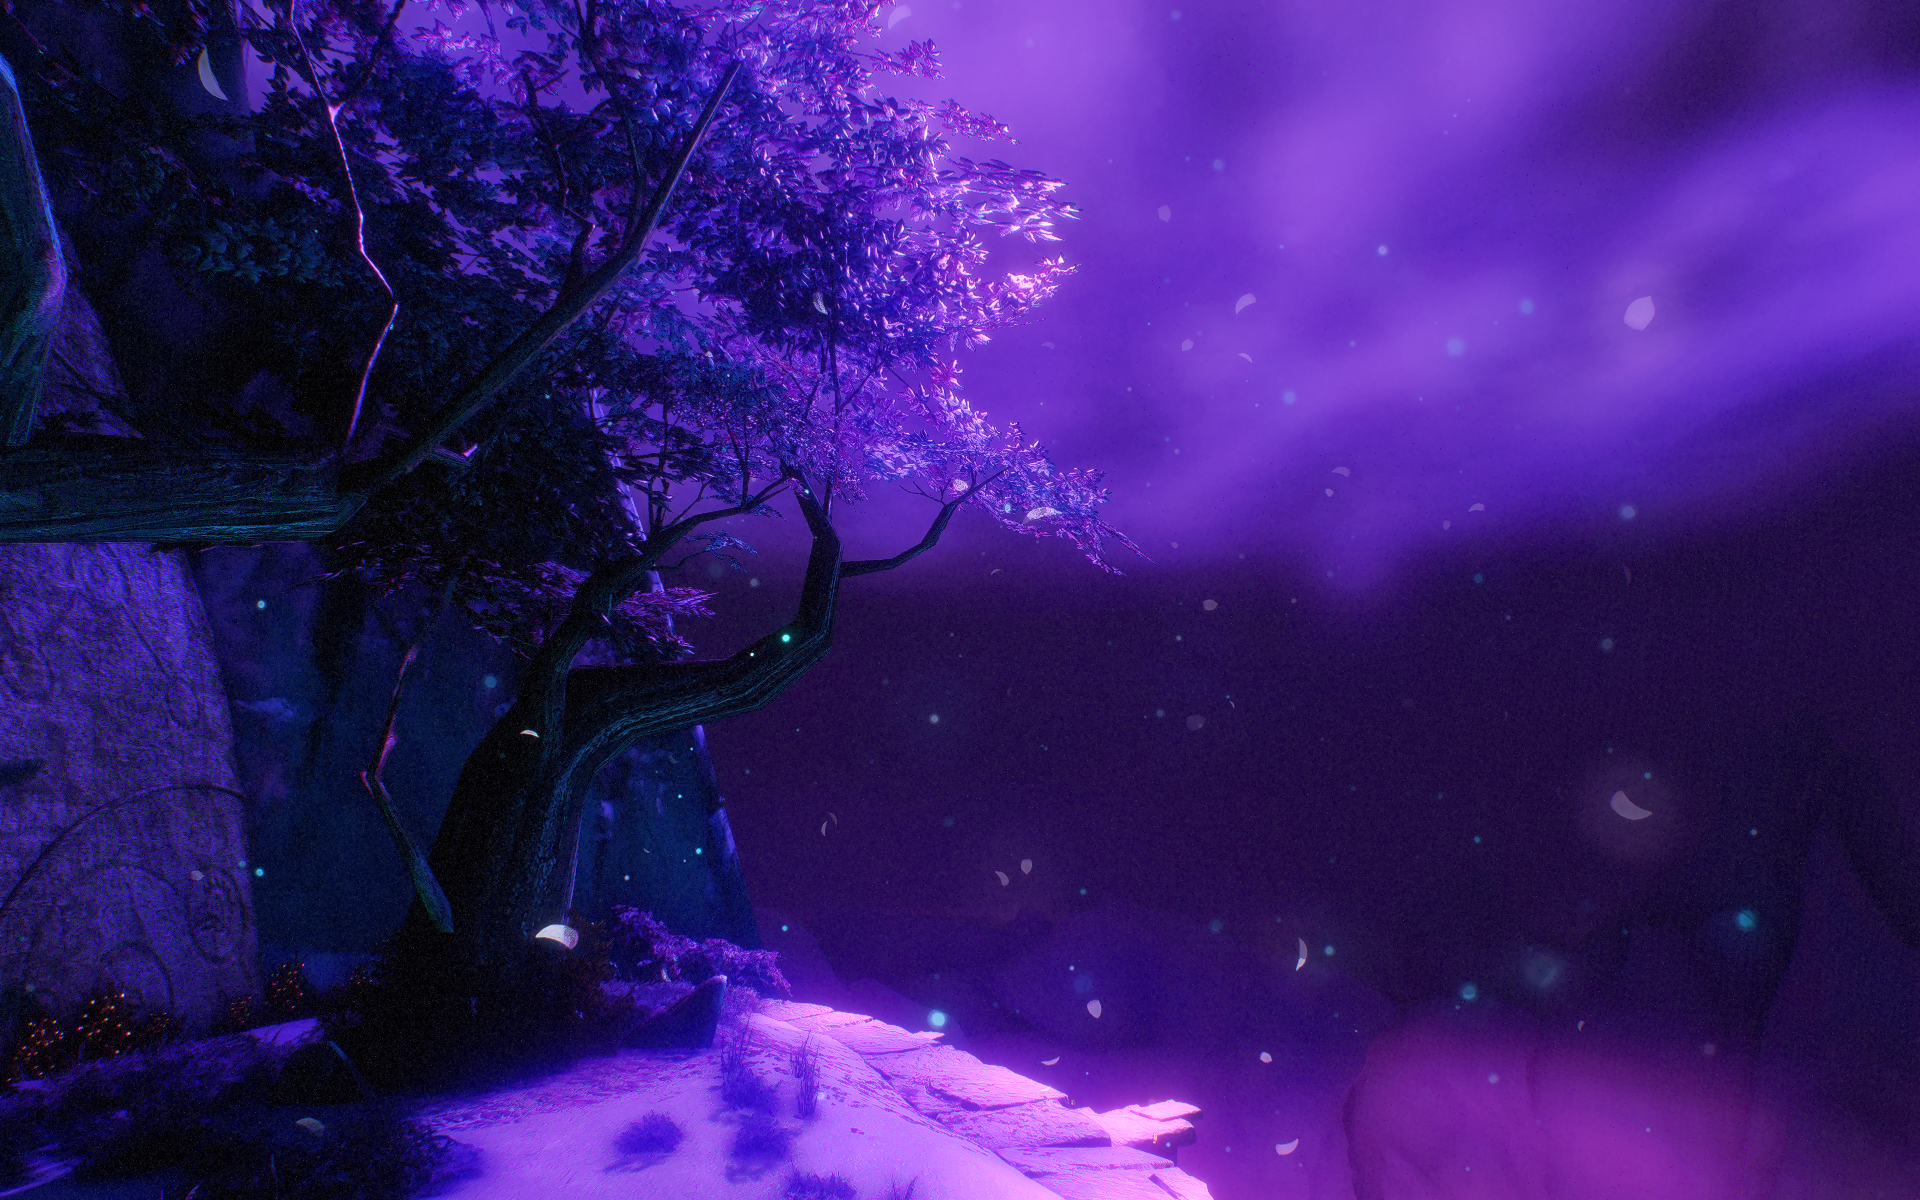
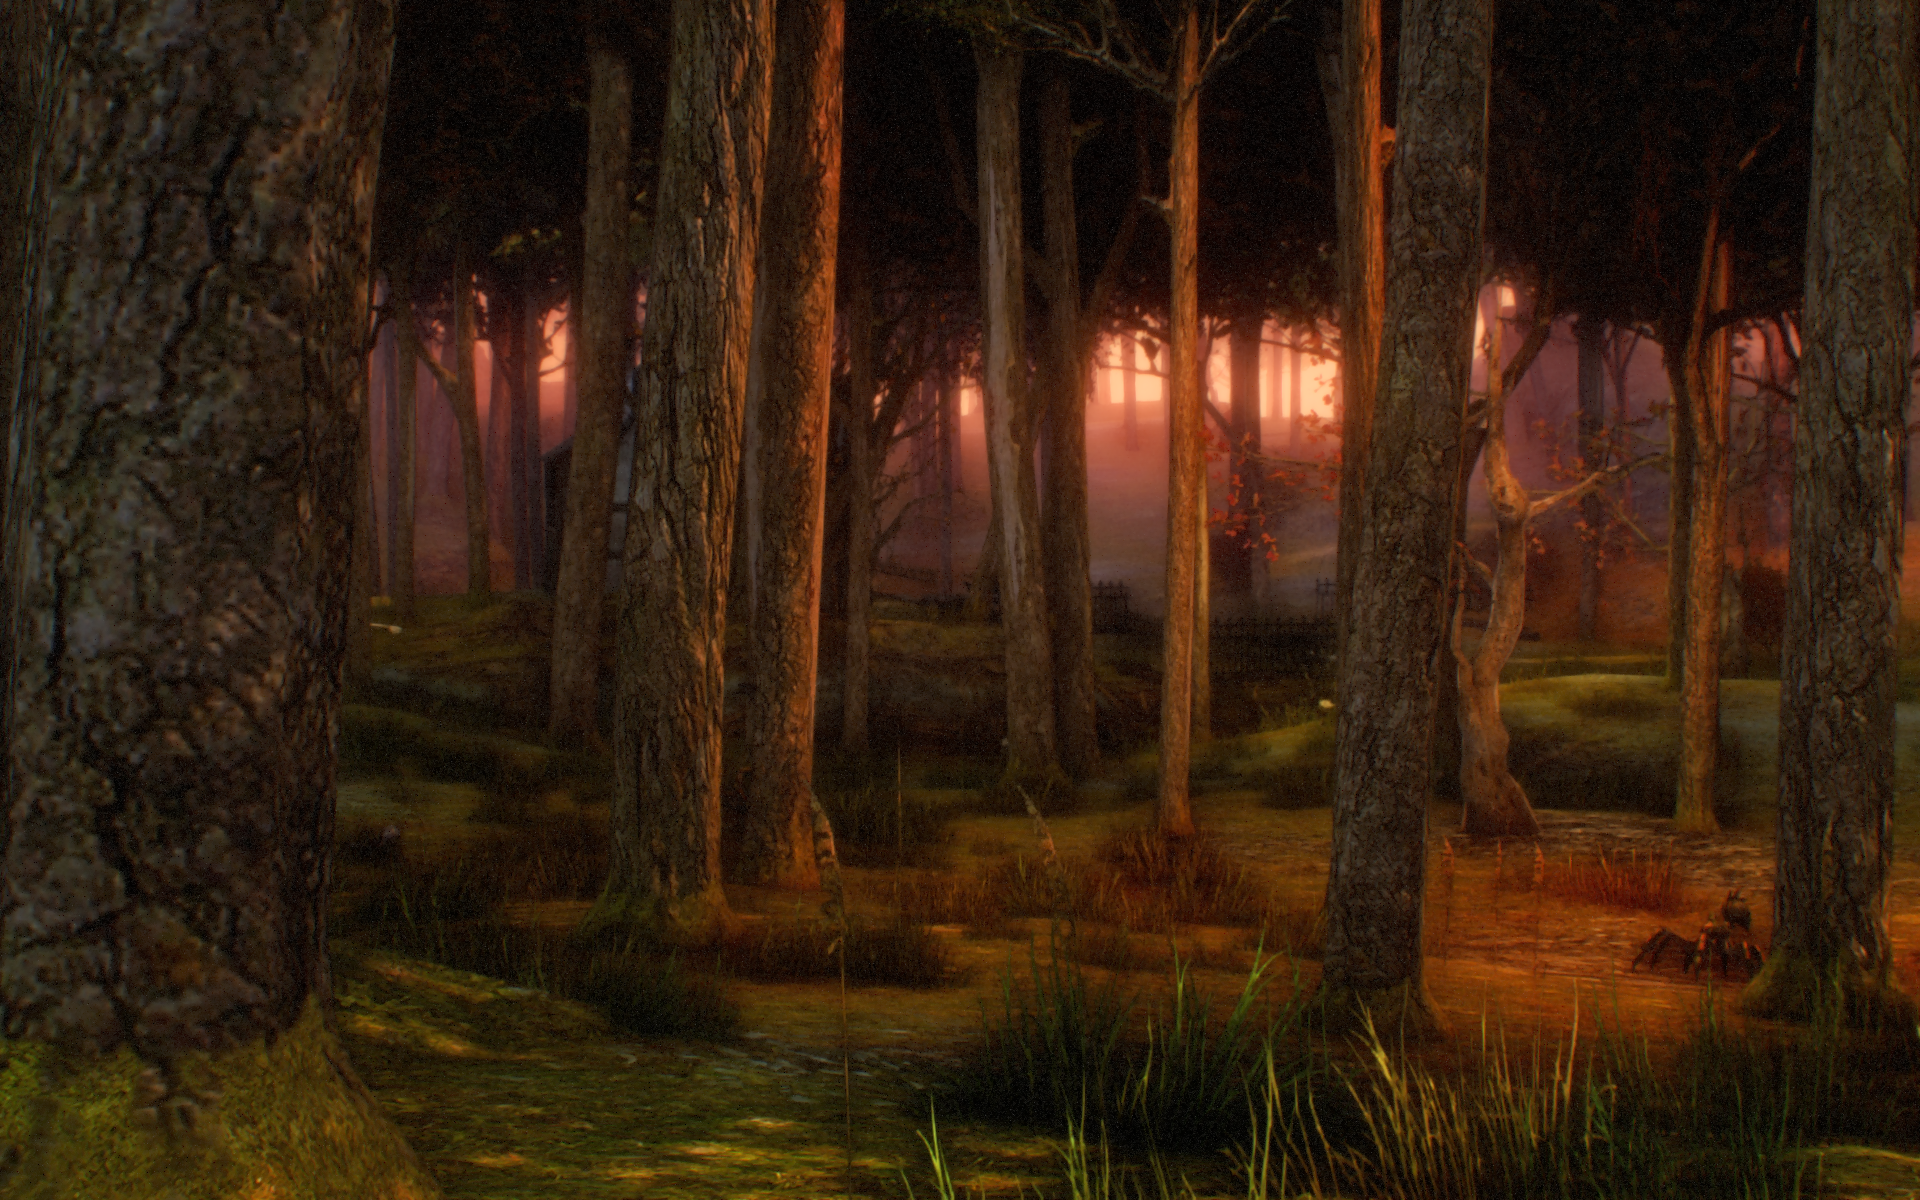
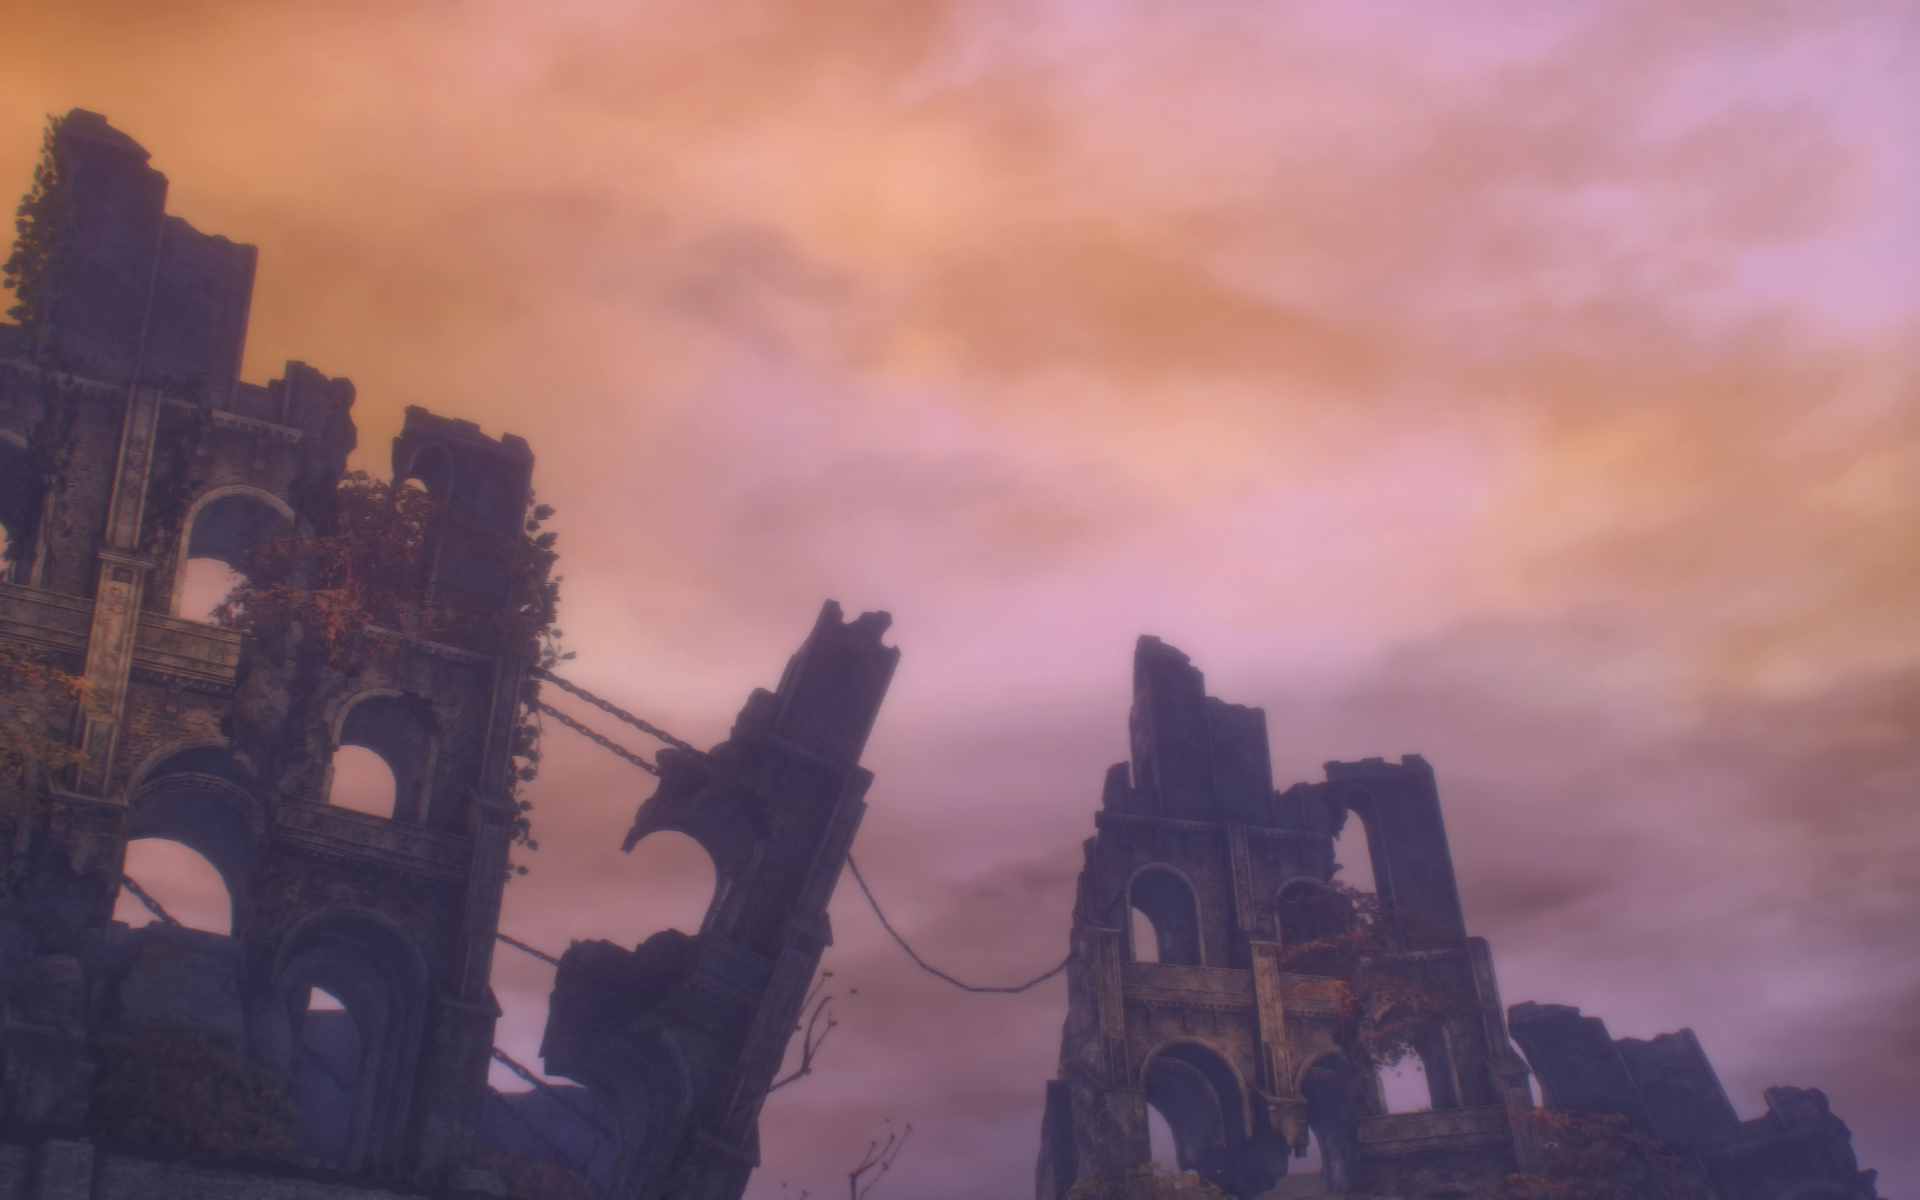
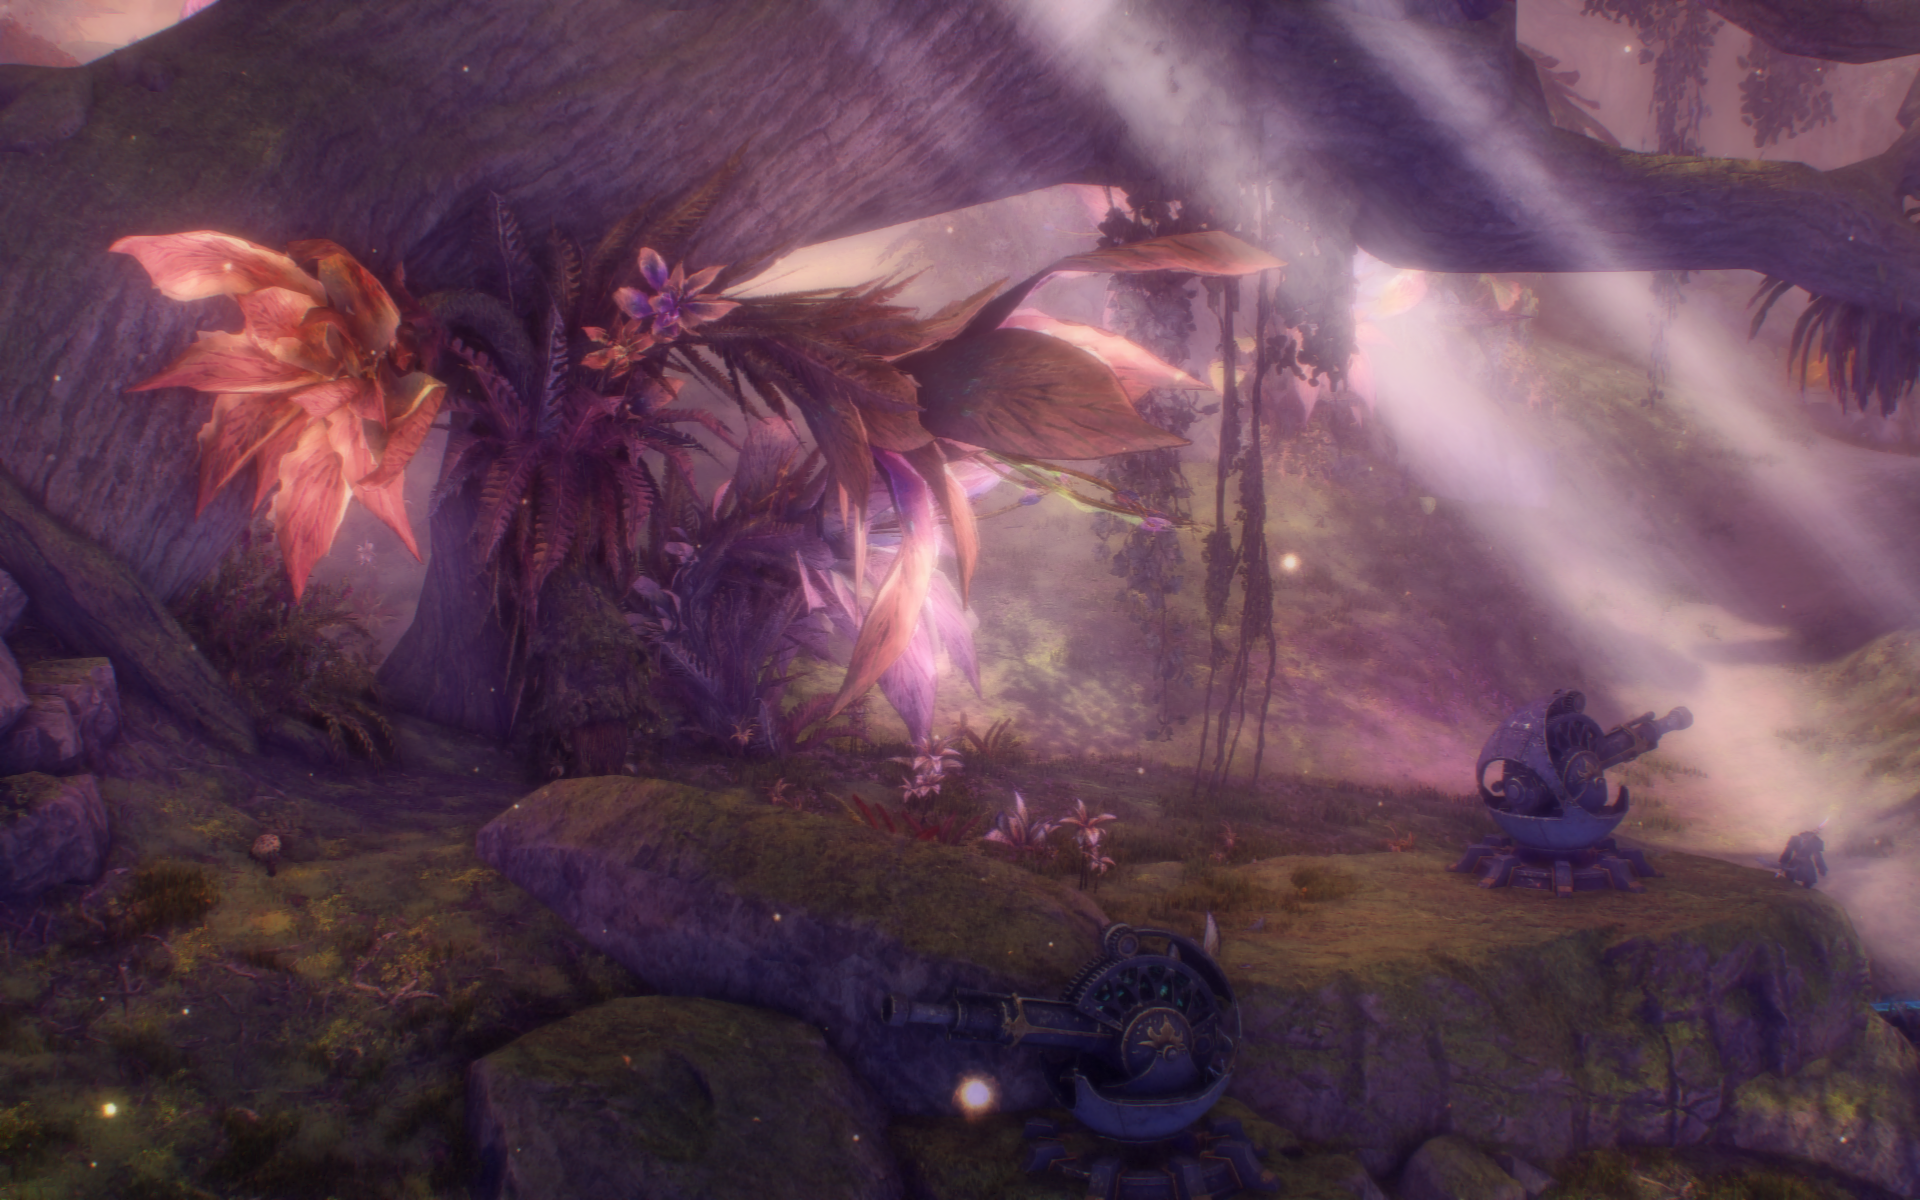
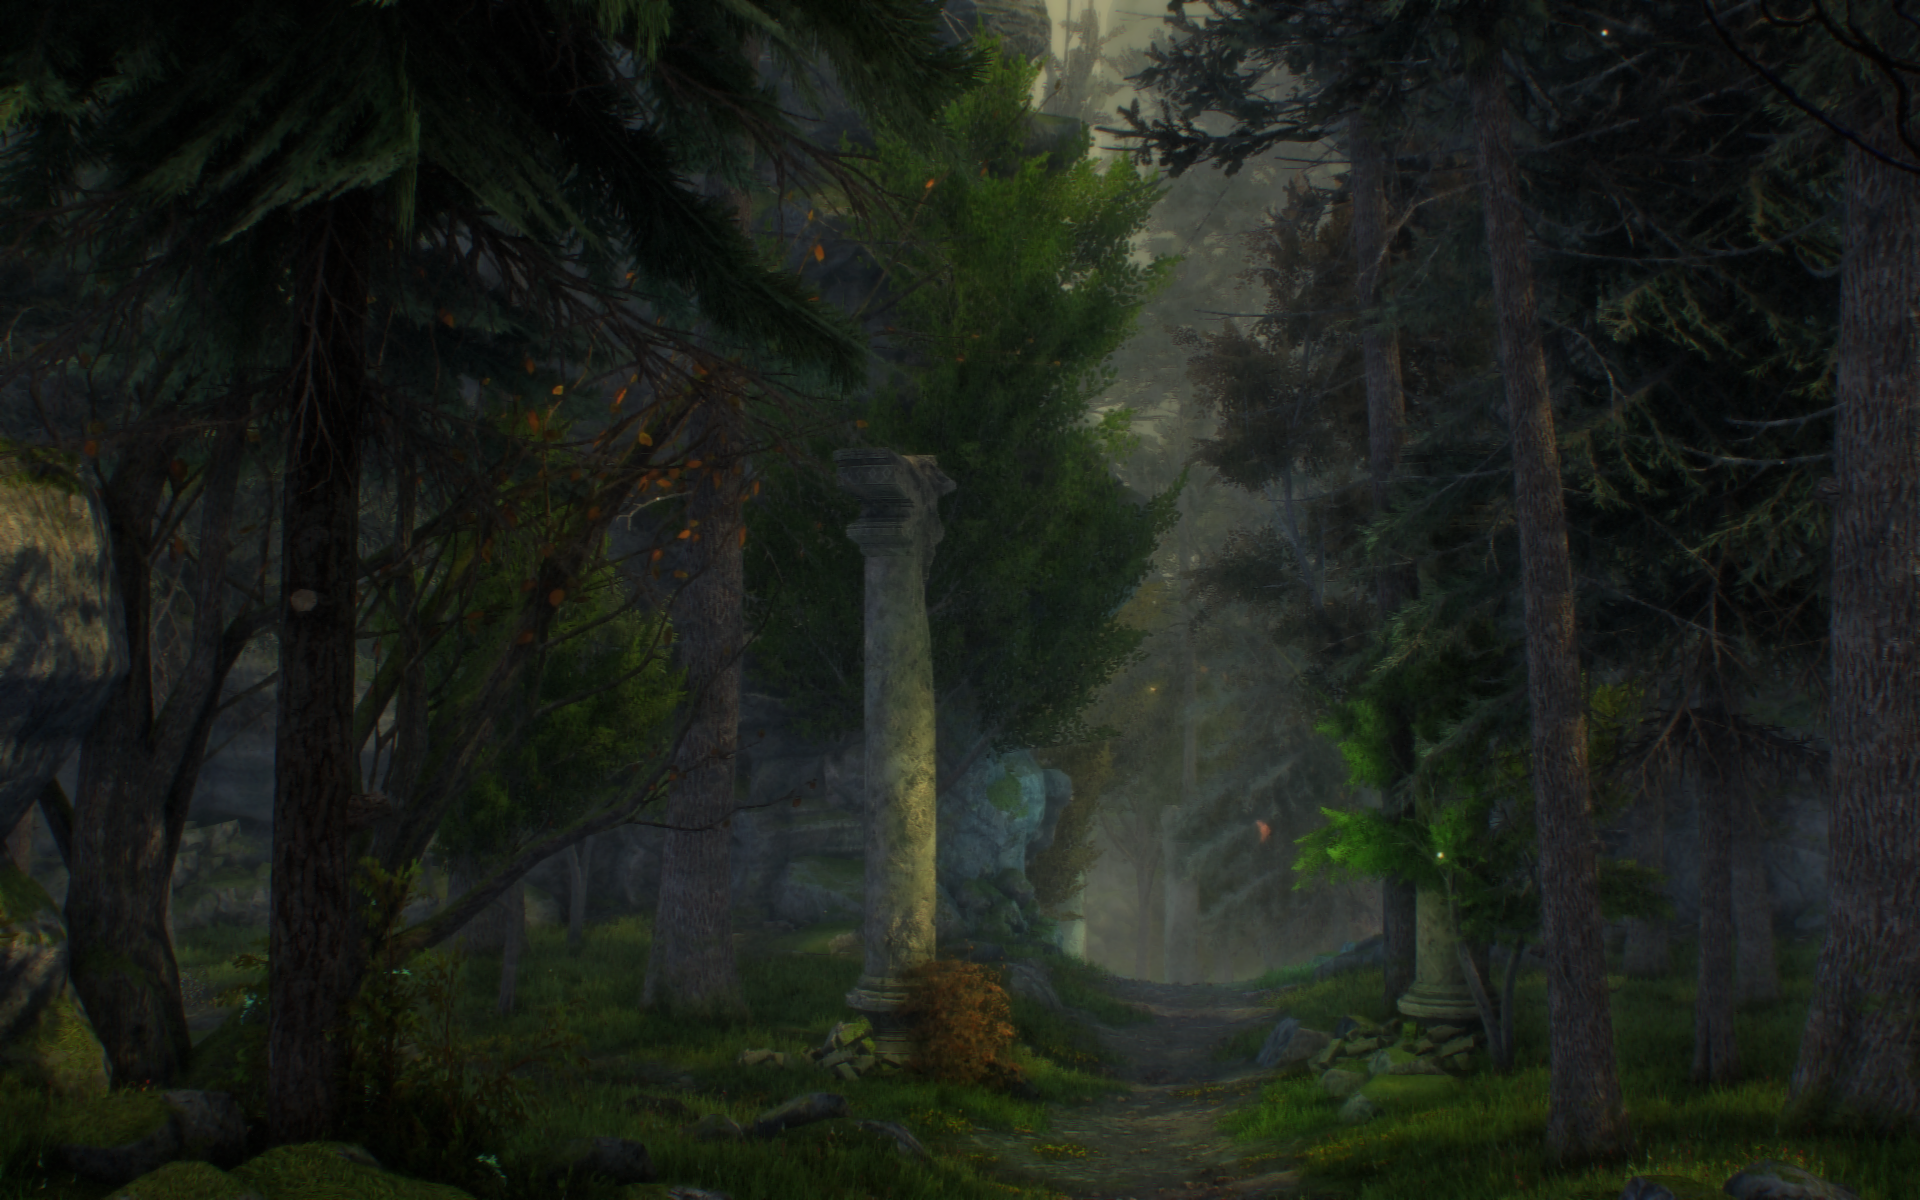
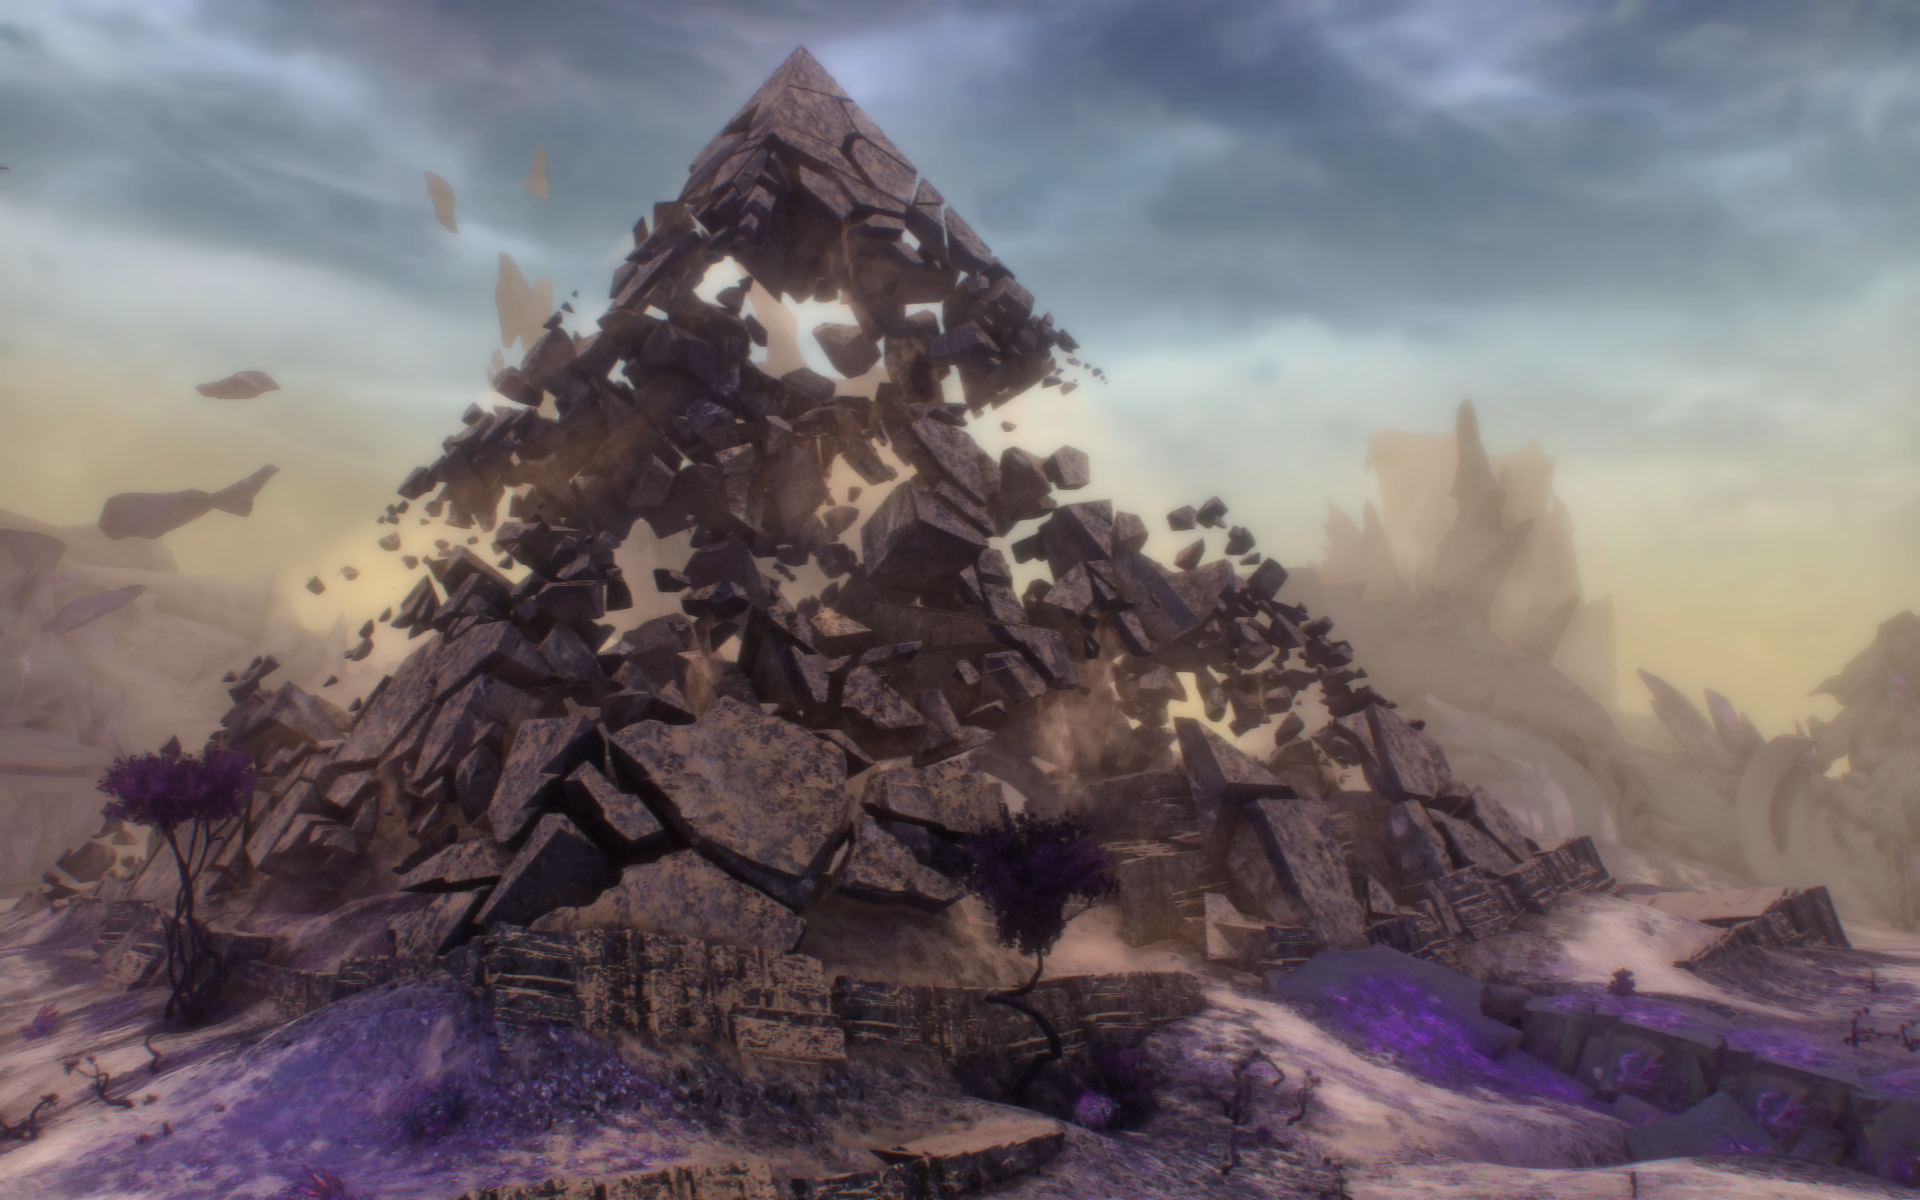
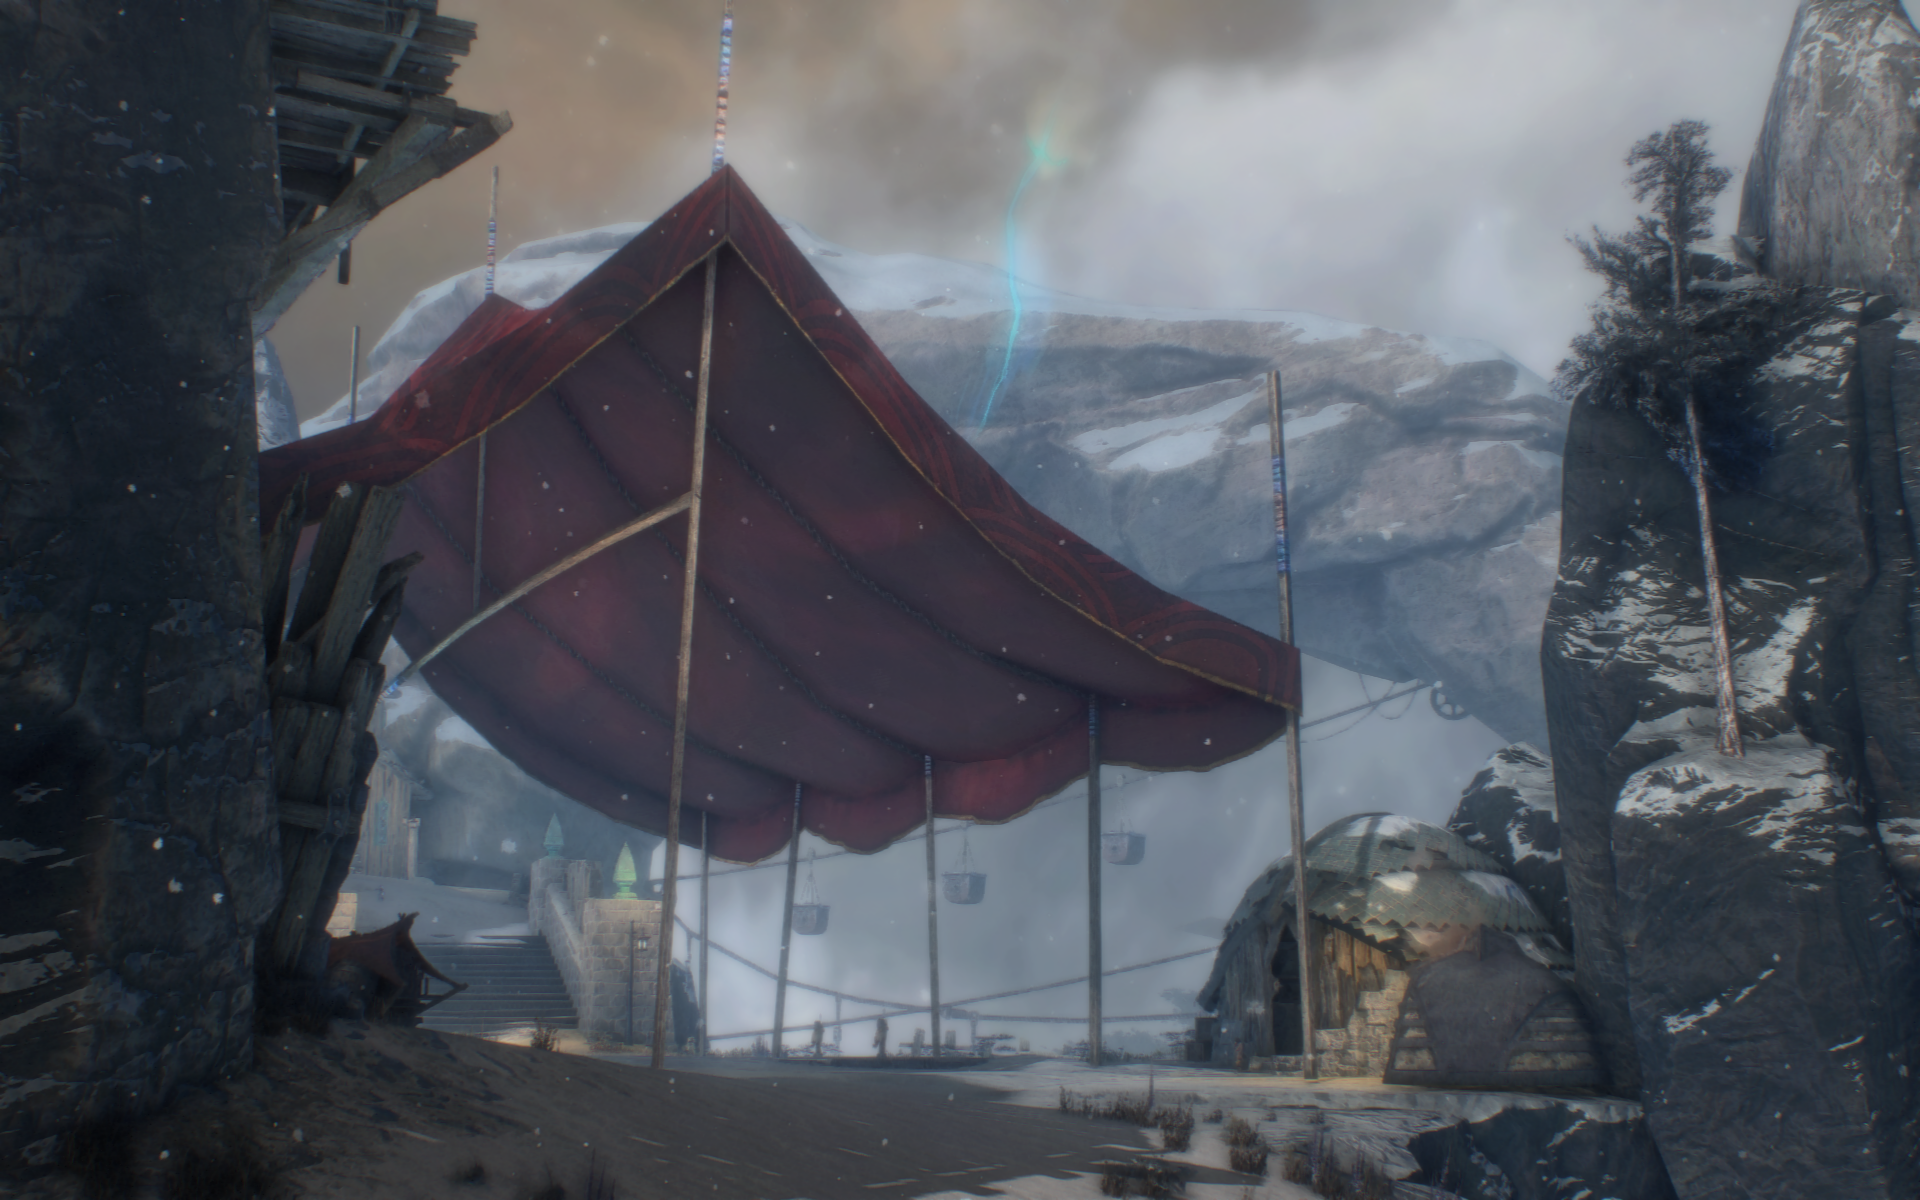
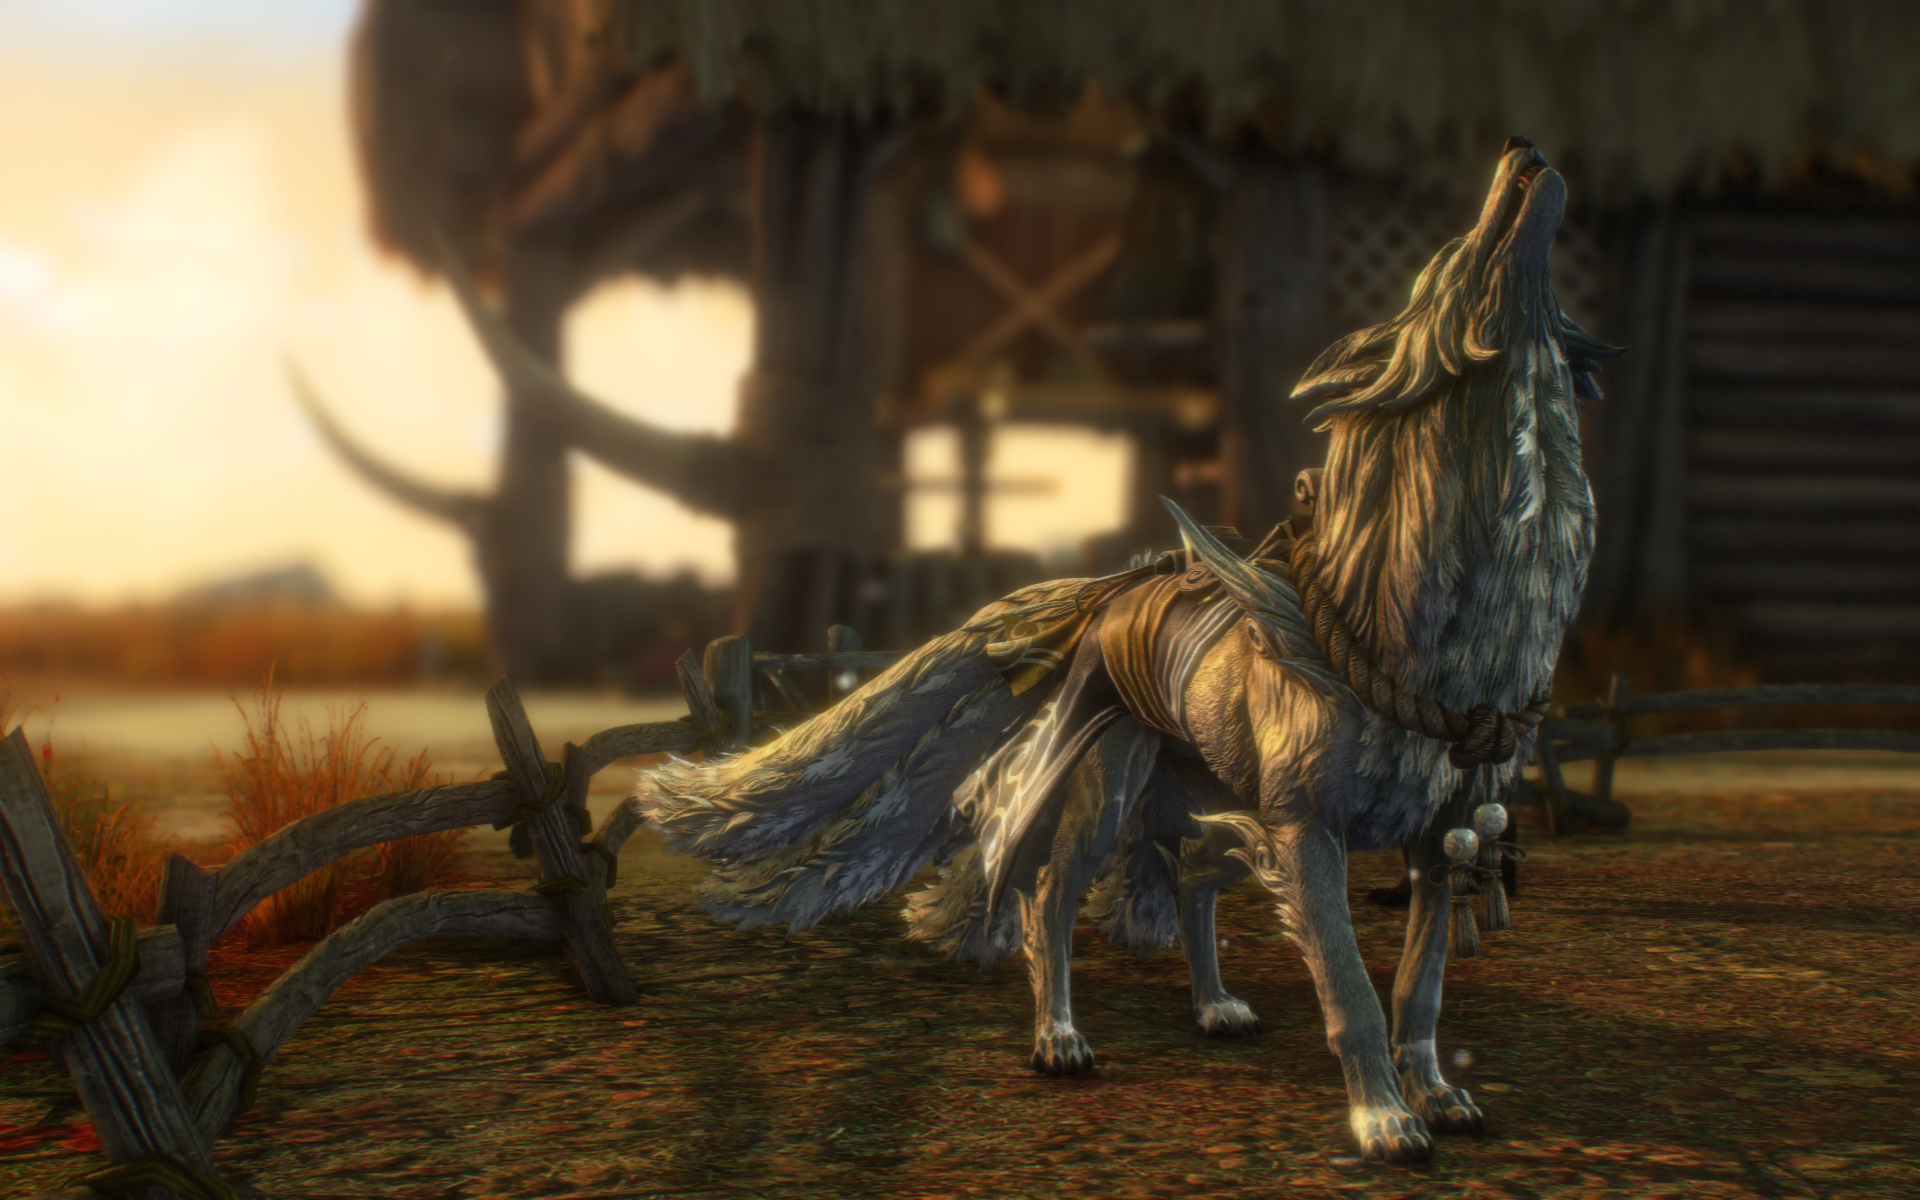
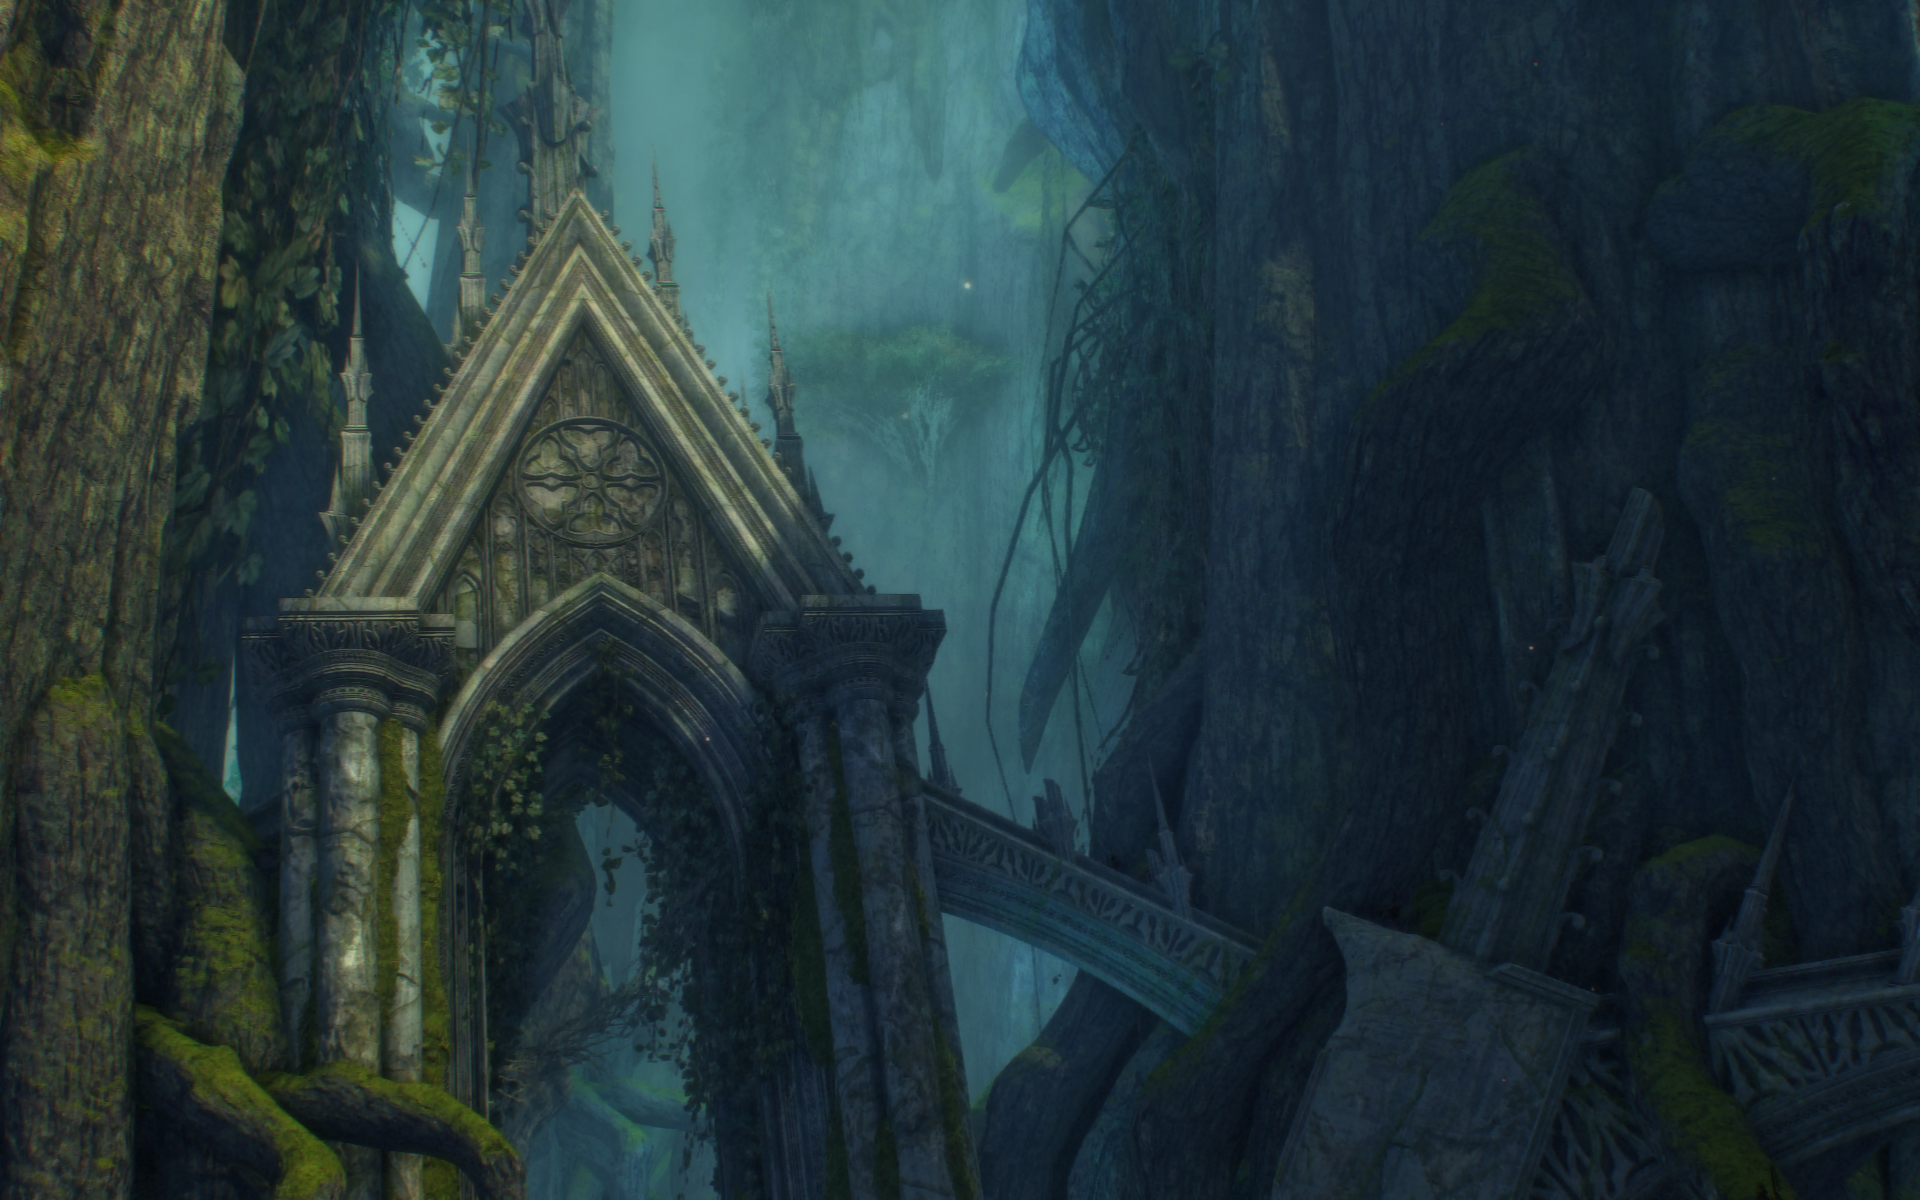
Enjoy your enhanced Guild Wars 2 visuals!